

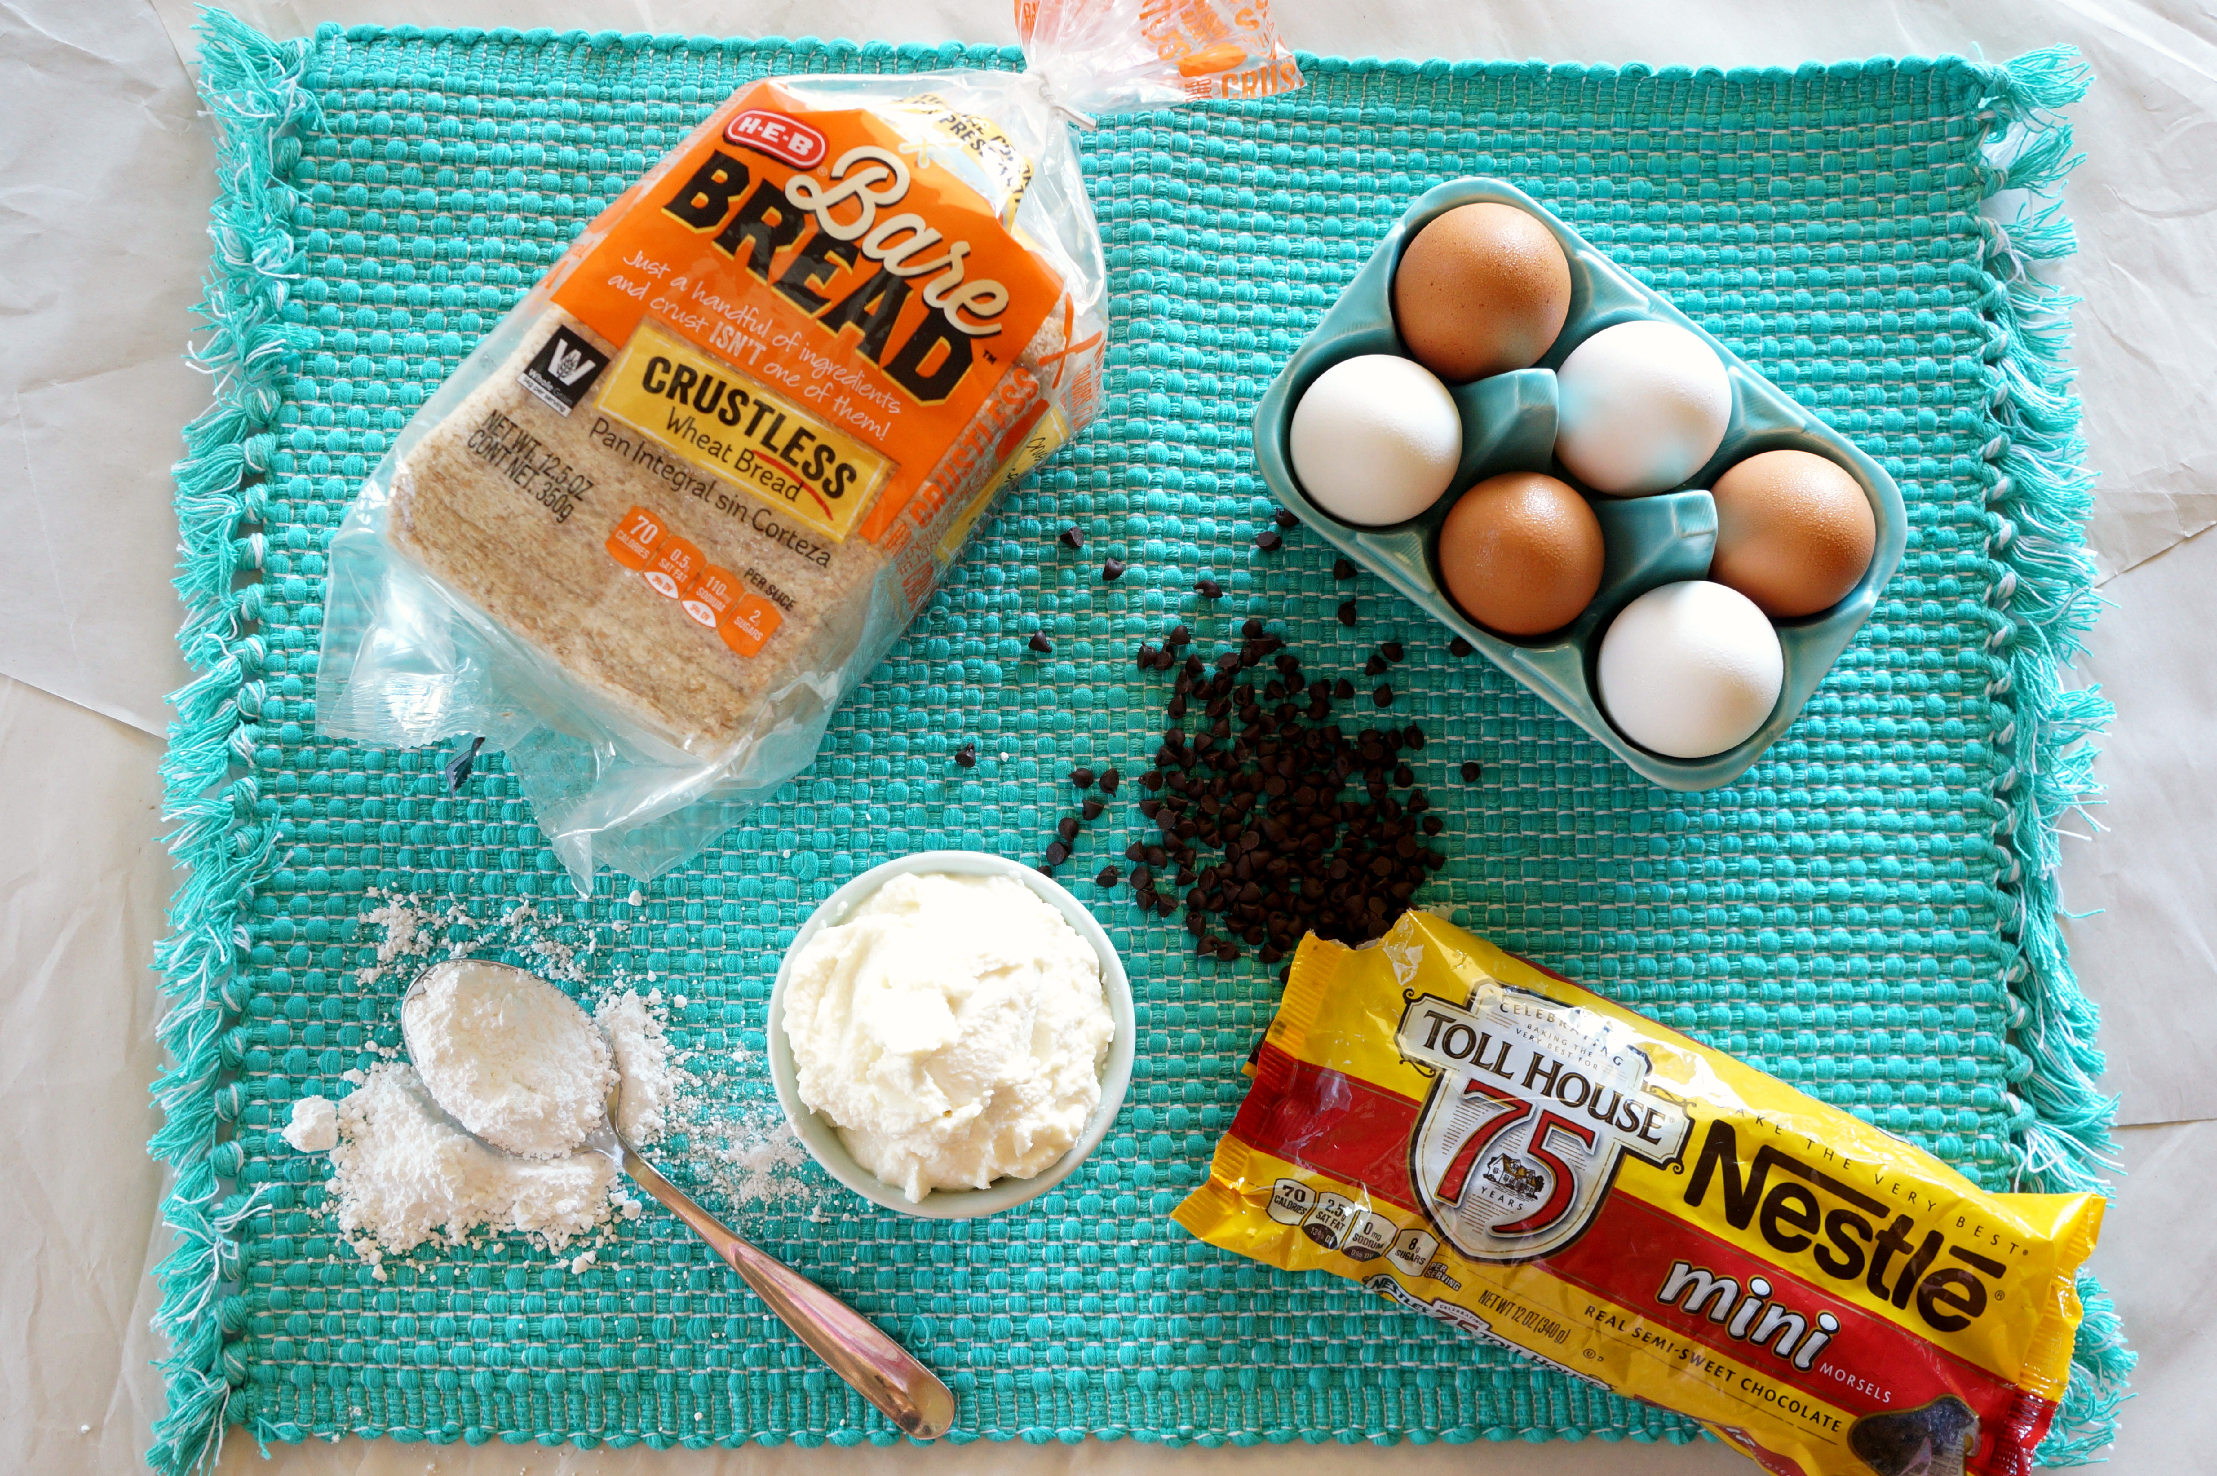
It's the weekend! Woo hoo! After having to wake up early every single day this week for work, I was more than happy to sleep in a few hours this morning. And then I fixed these little yummies for brunch! These are so easy and beyond delicious! I have seen these nifty french toast roll-ups all over Pinterest for months, but I had yet to make any myself. When I received my HEB Primo Picks package this month, and saw their new product called Bare Bread, I knew this is what I needed to make with it! It's sliced bread... made without the crust! Personally, my favorite part is that it's made with a few simple ingredients I know and can actually pronounce { think whole wheat flour, yeast, water, salt... real stuff! }. Of course, you could always make this with regular sliced bread and cut the crust off yourself... but who wants extra work, right?
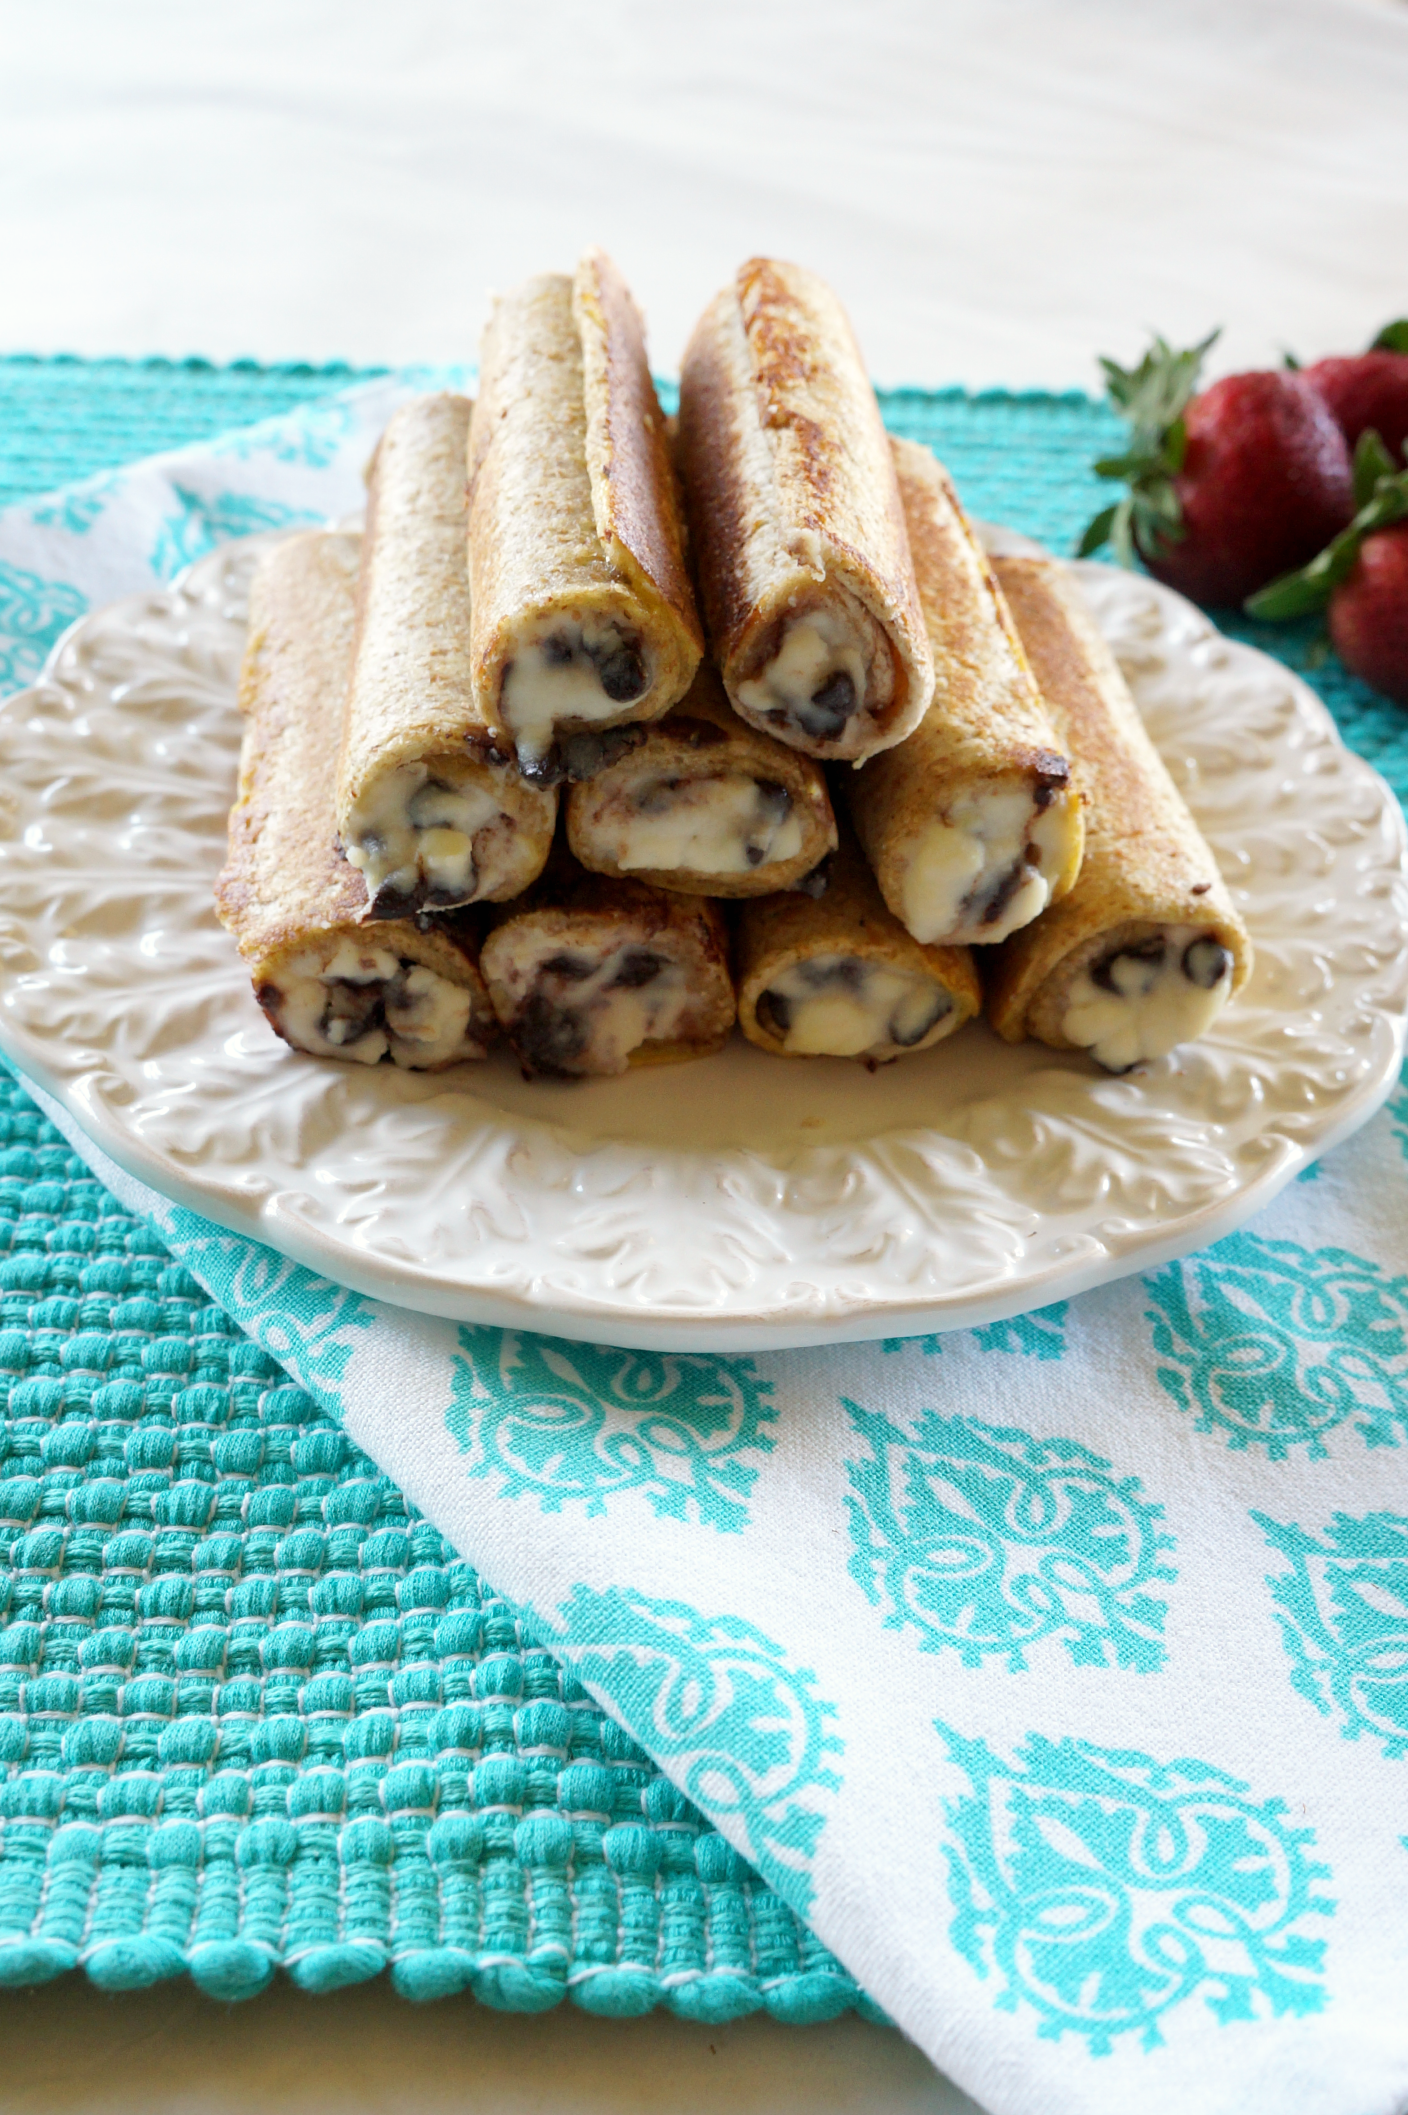
After deciding I was going to make roll-ups, I had to decide what to put in them. My first { obvious } choice was Nutella, because my family could basically live on Nutella alone... however, a quick Google search yielded a million billion Nutella french toast roll-up recipes. Yikes! Time for plan B. There was a big container of ricotta cheese in my fridge, which got me thinking about cannoli. Ding ding ding! Cannoli are little rolled-up tubes too, so why not replace the pastry shell with french toast and keep the same filling? And that's how these little babies were born. So simple and seriously delicious! These are the perfect special treat to celebrate the weekend. Happy cooking!
You can find Bare Bread, along with the other June Primo Picks, at H-E-B! See all the featured items HERE, then find a store near you HERE. Don’t forget to follow H-E-B on Facebook, Twitter, YouTube, and Pinterest. Have fun shopping!
Cannoli French Toast Roll-Ups
Ingredients
- 1 loaf HEB's Bare Bread { about 15 slices }
- 1 15 oz container of ricotta
- 2 tablespoon powdered sugar
- 1 cup mini chocolate chips
- 1 teaspoon vanilla extract
- pinch of salt
- 1 egg
- 2 tablespoon whole milk
- nonstick spray
- additional powdered sugar for serving
Instructions
- First, turn on your flat griddle onto 400F, and prepare the rest as it heats up. If you don't have a griddle, you can also use a large pan!
- Now, prepare your bread. Remove slices from package, and use a rolling pin to flatten slices as much as possible without tearing them. Once all slices have been flattened, set aside.
- In a medium bowl, combine the ricotta cheese, powdered sugar, vanilla, and salt, and mix well with a spoon. Add in the mini chocolate chips.
- Using a small spoon, spoon some of the ricotta mixture along one edge of a flattened piece of bread, making sure not to overfill. Carefully roll it up, and repeat with all the ricotta and bread.
- Now, in a separate small bowl, whisk together the egg and milk.
- At this point, your griddle/pan should be ready, so spray lightly with nonstick spray.
- Quickly dip the bread rolls in the egg mixture, one at a time, and place on the hot griddle.
- Let the rolls cook for 2-3 minutes undisturbed, until golden brown, then flip over and let cook for a few minutes more. Turn onto one side, let it cook for a few minutes, and then repeat on the last remaining side. Basically, you are cooking it as if it were square-shaped!
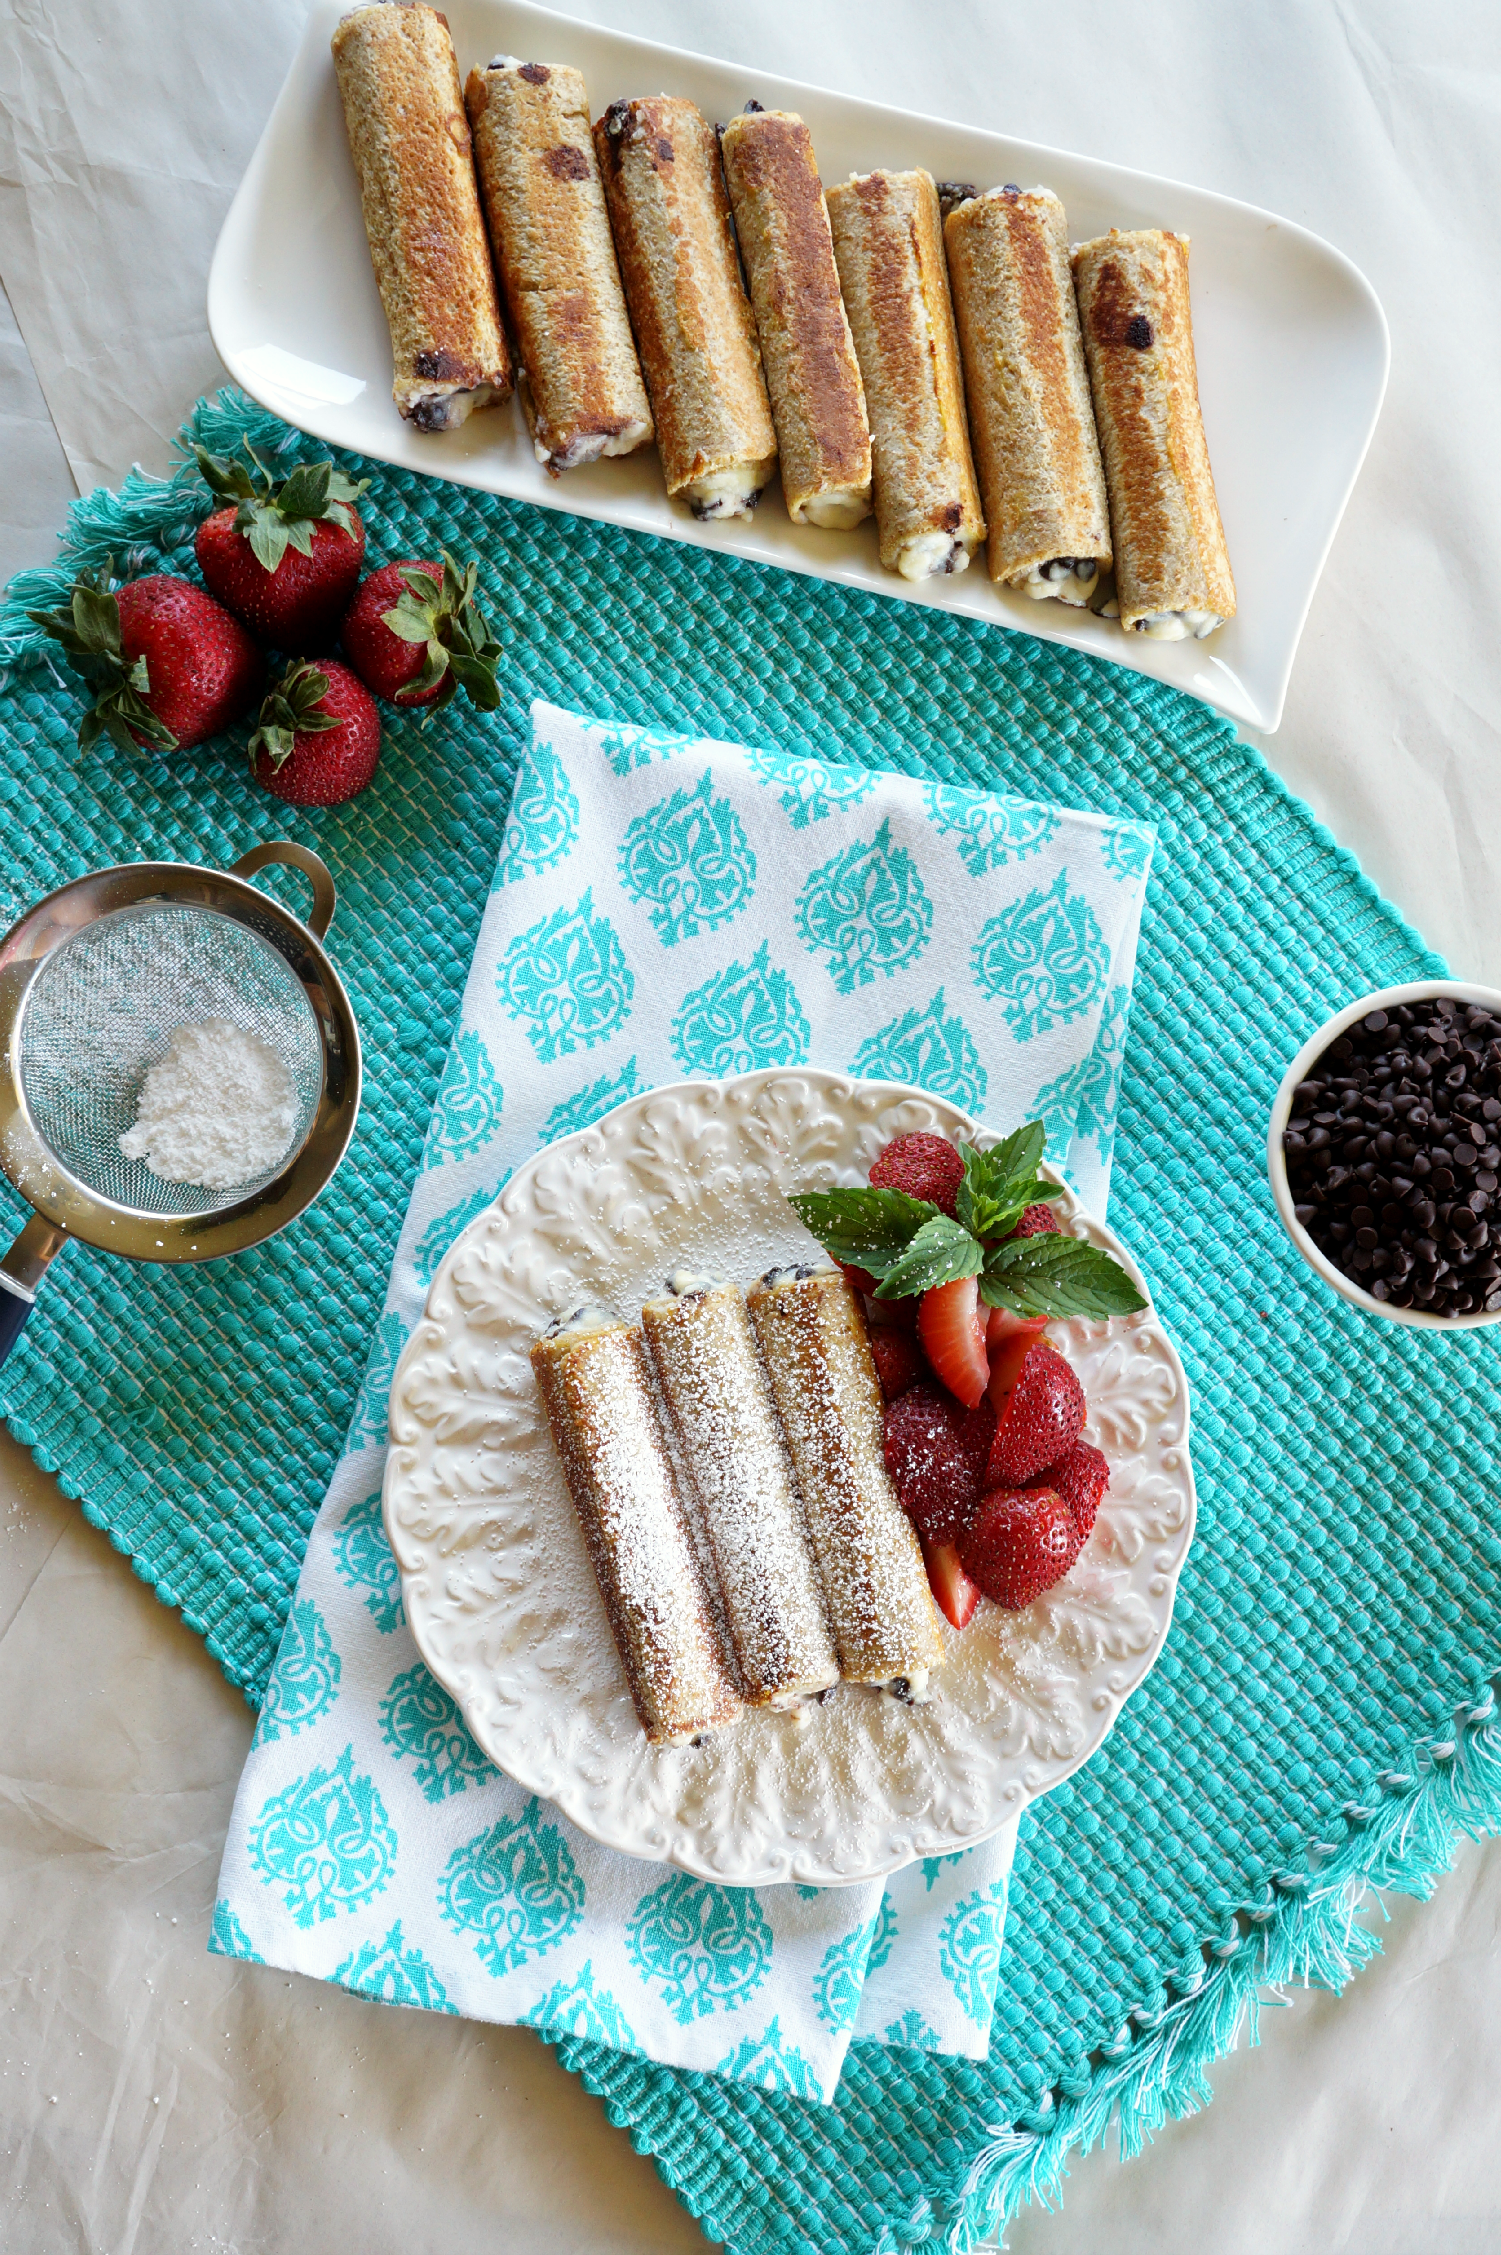
- Once all sides are golden brown and delicious, transfer to a plate, sprinkle with powdered sugar, and enjoy immediately!
Disclosure: I received materials from H-E-B for this recipe. Posts are truthful, and all thoughts and opinions are my own and not influenced by this sponsorship. Recipe is an original creation by Valentina Celant at TheBakingFairy.net


Jenne Kopalek says
I am so going to pin these. Love the pictures and I know my daughter would definitely devour these!
Aubrey says
Holy cow, these look amazing. I always want to make things like this but marscapone is so expensive, I'll try to try with Ricotta!
Toye Piccirilli says
These look so yummy. Great pics too!
Jo Jo K says
I love love love your pictures. Care to give me lessons. Totally enjoyed reading and making myself hungry.