
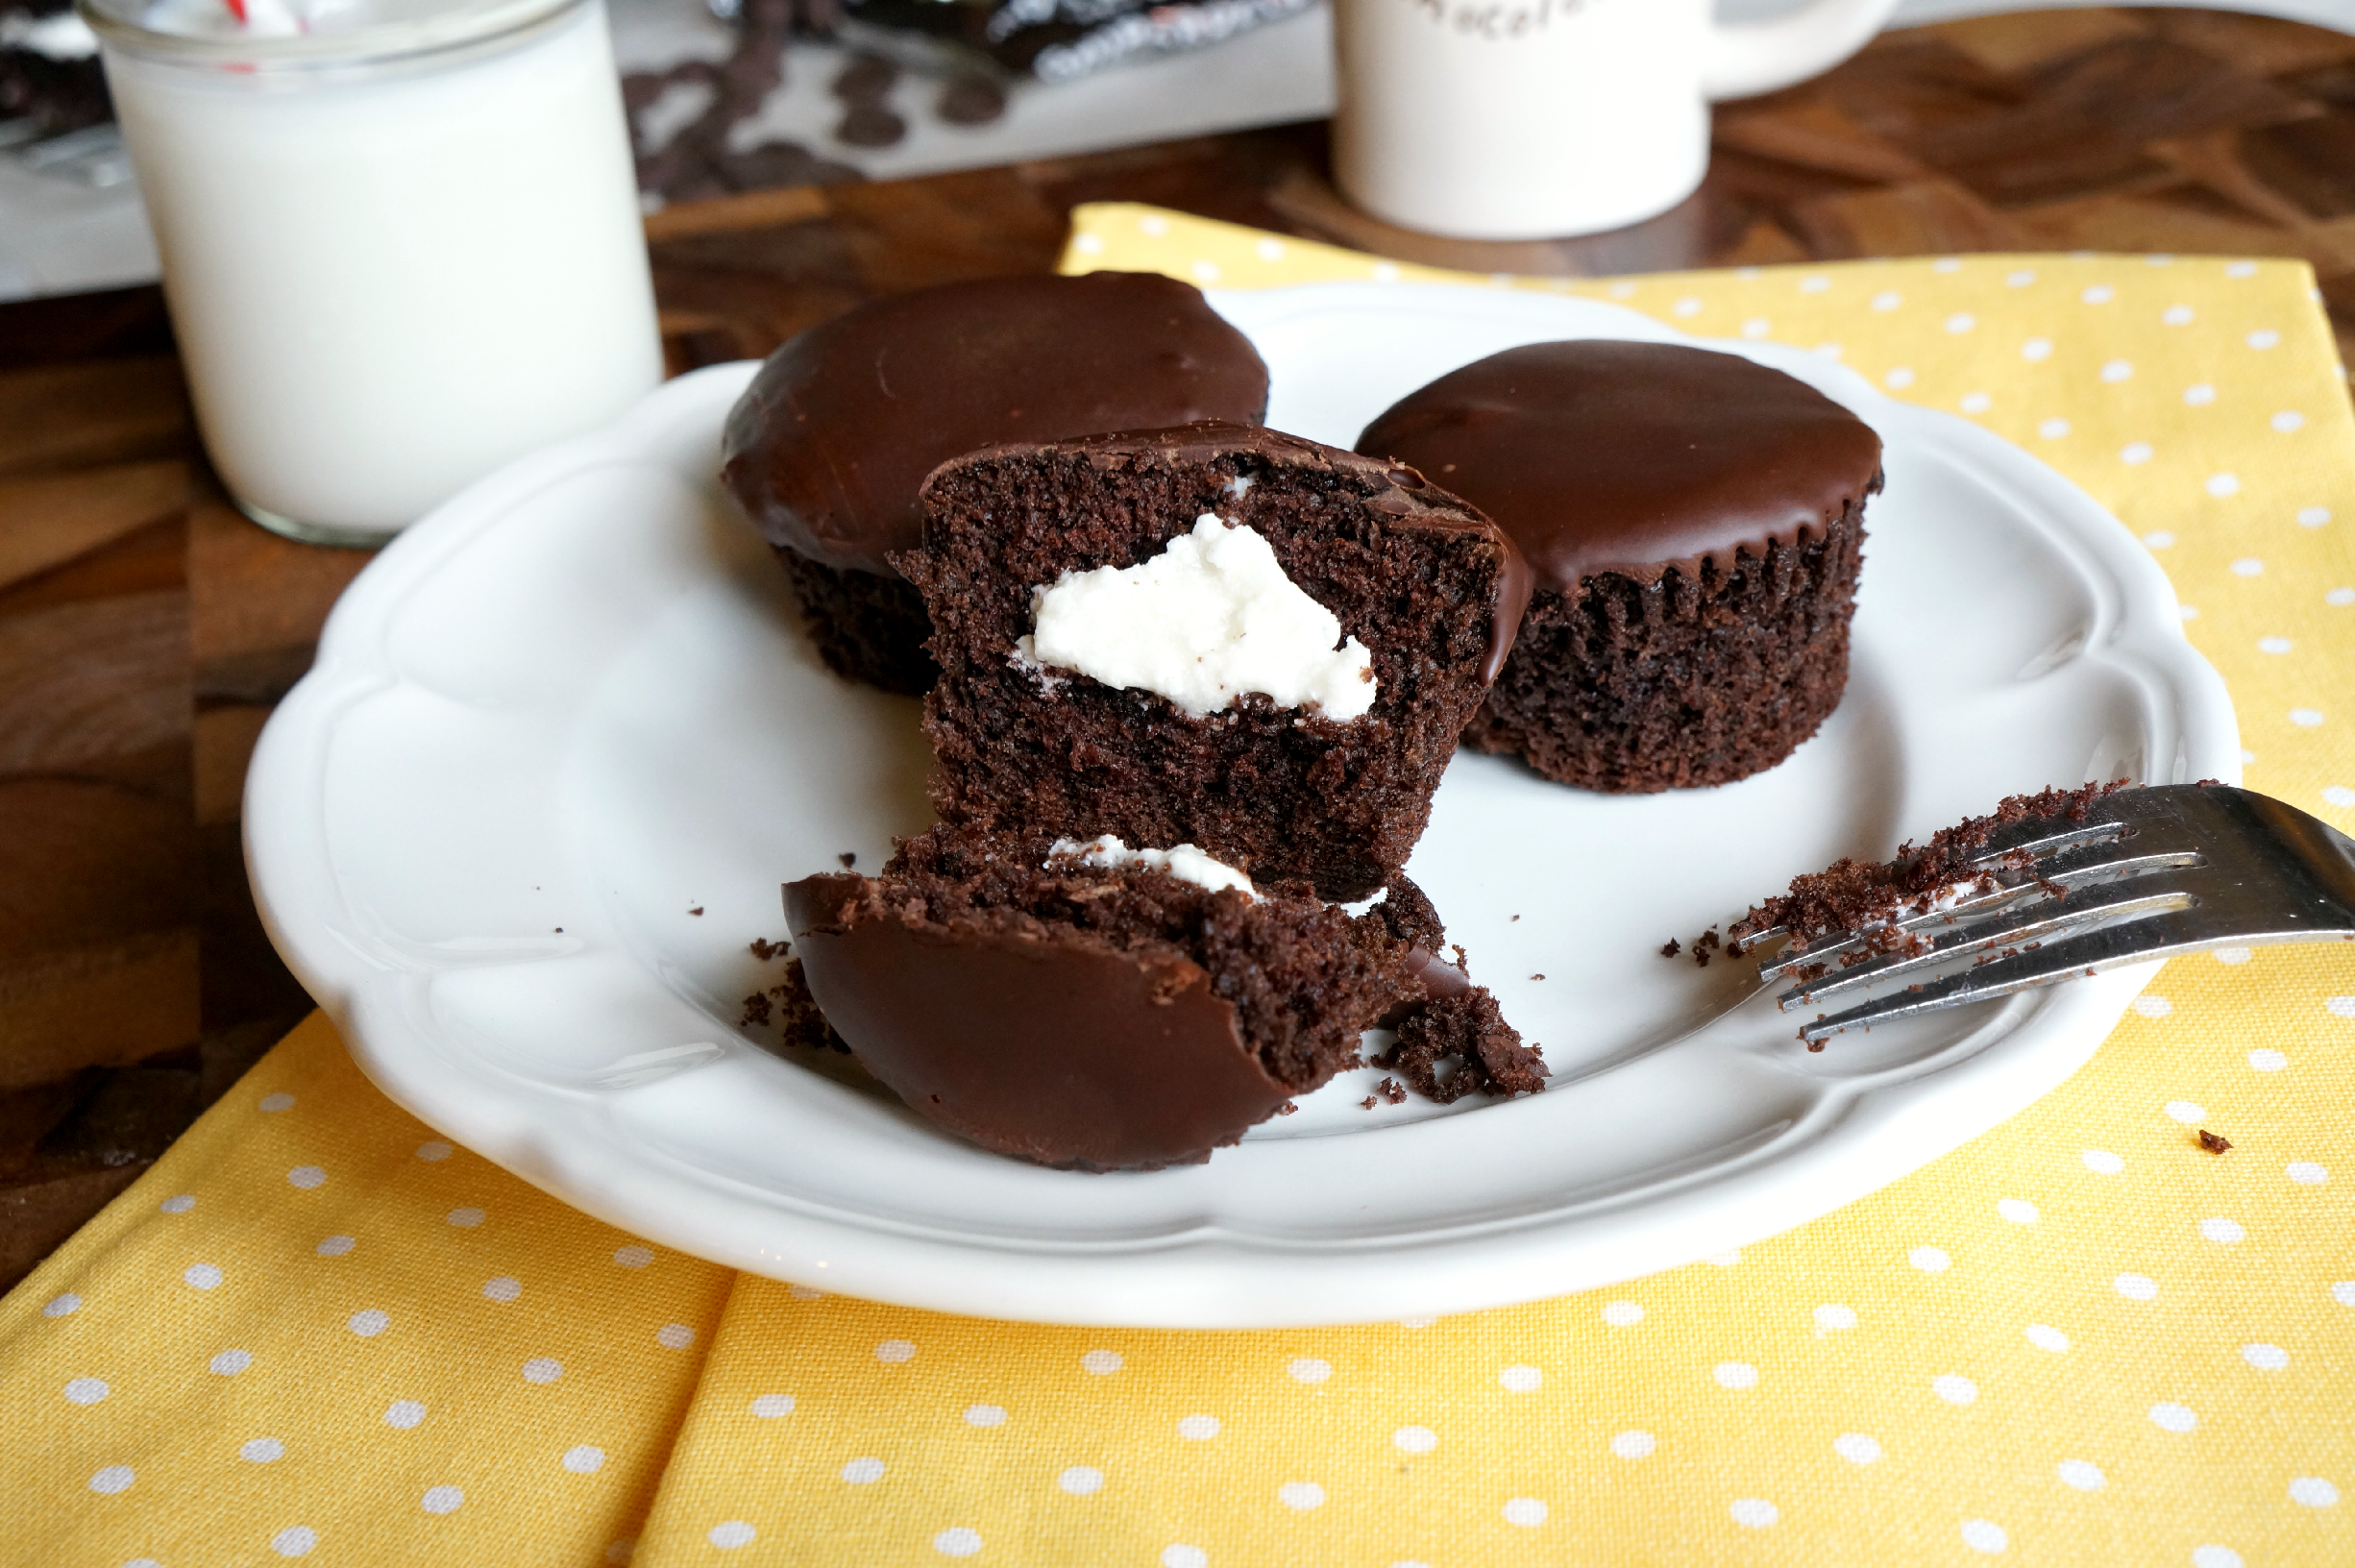
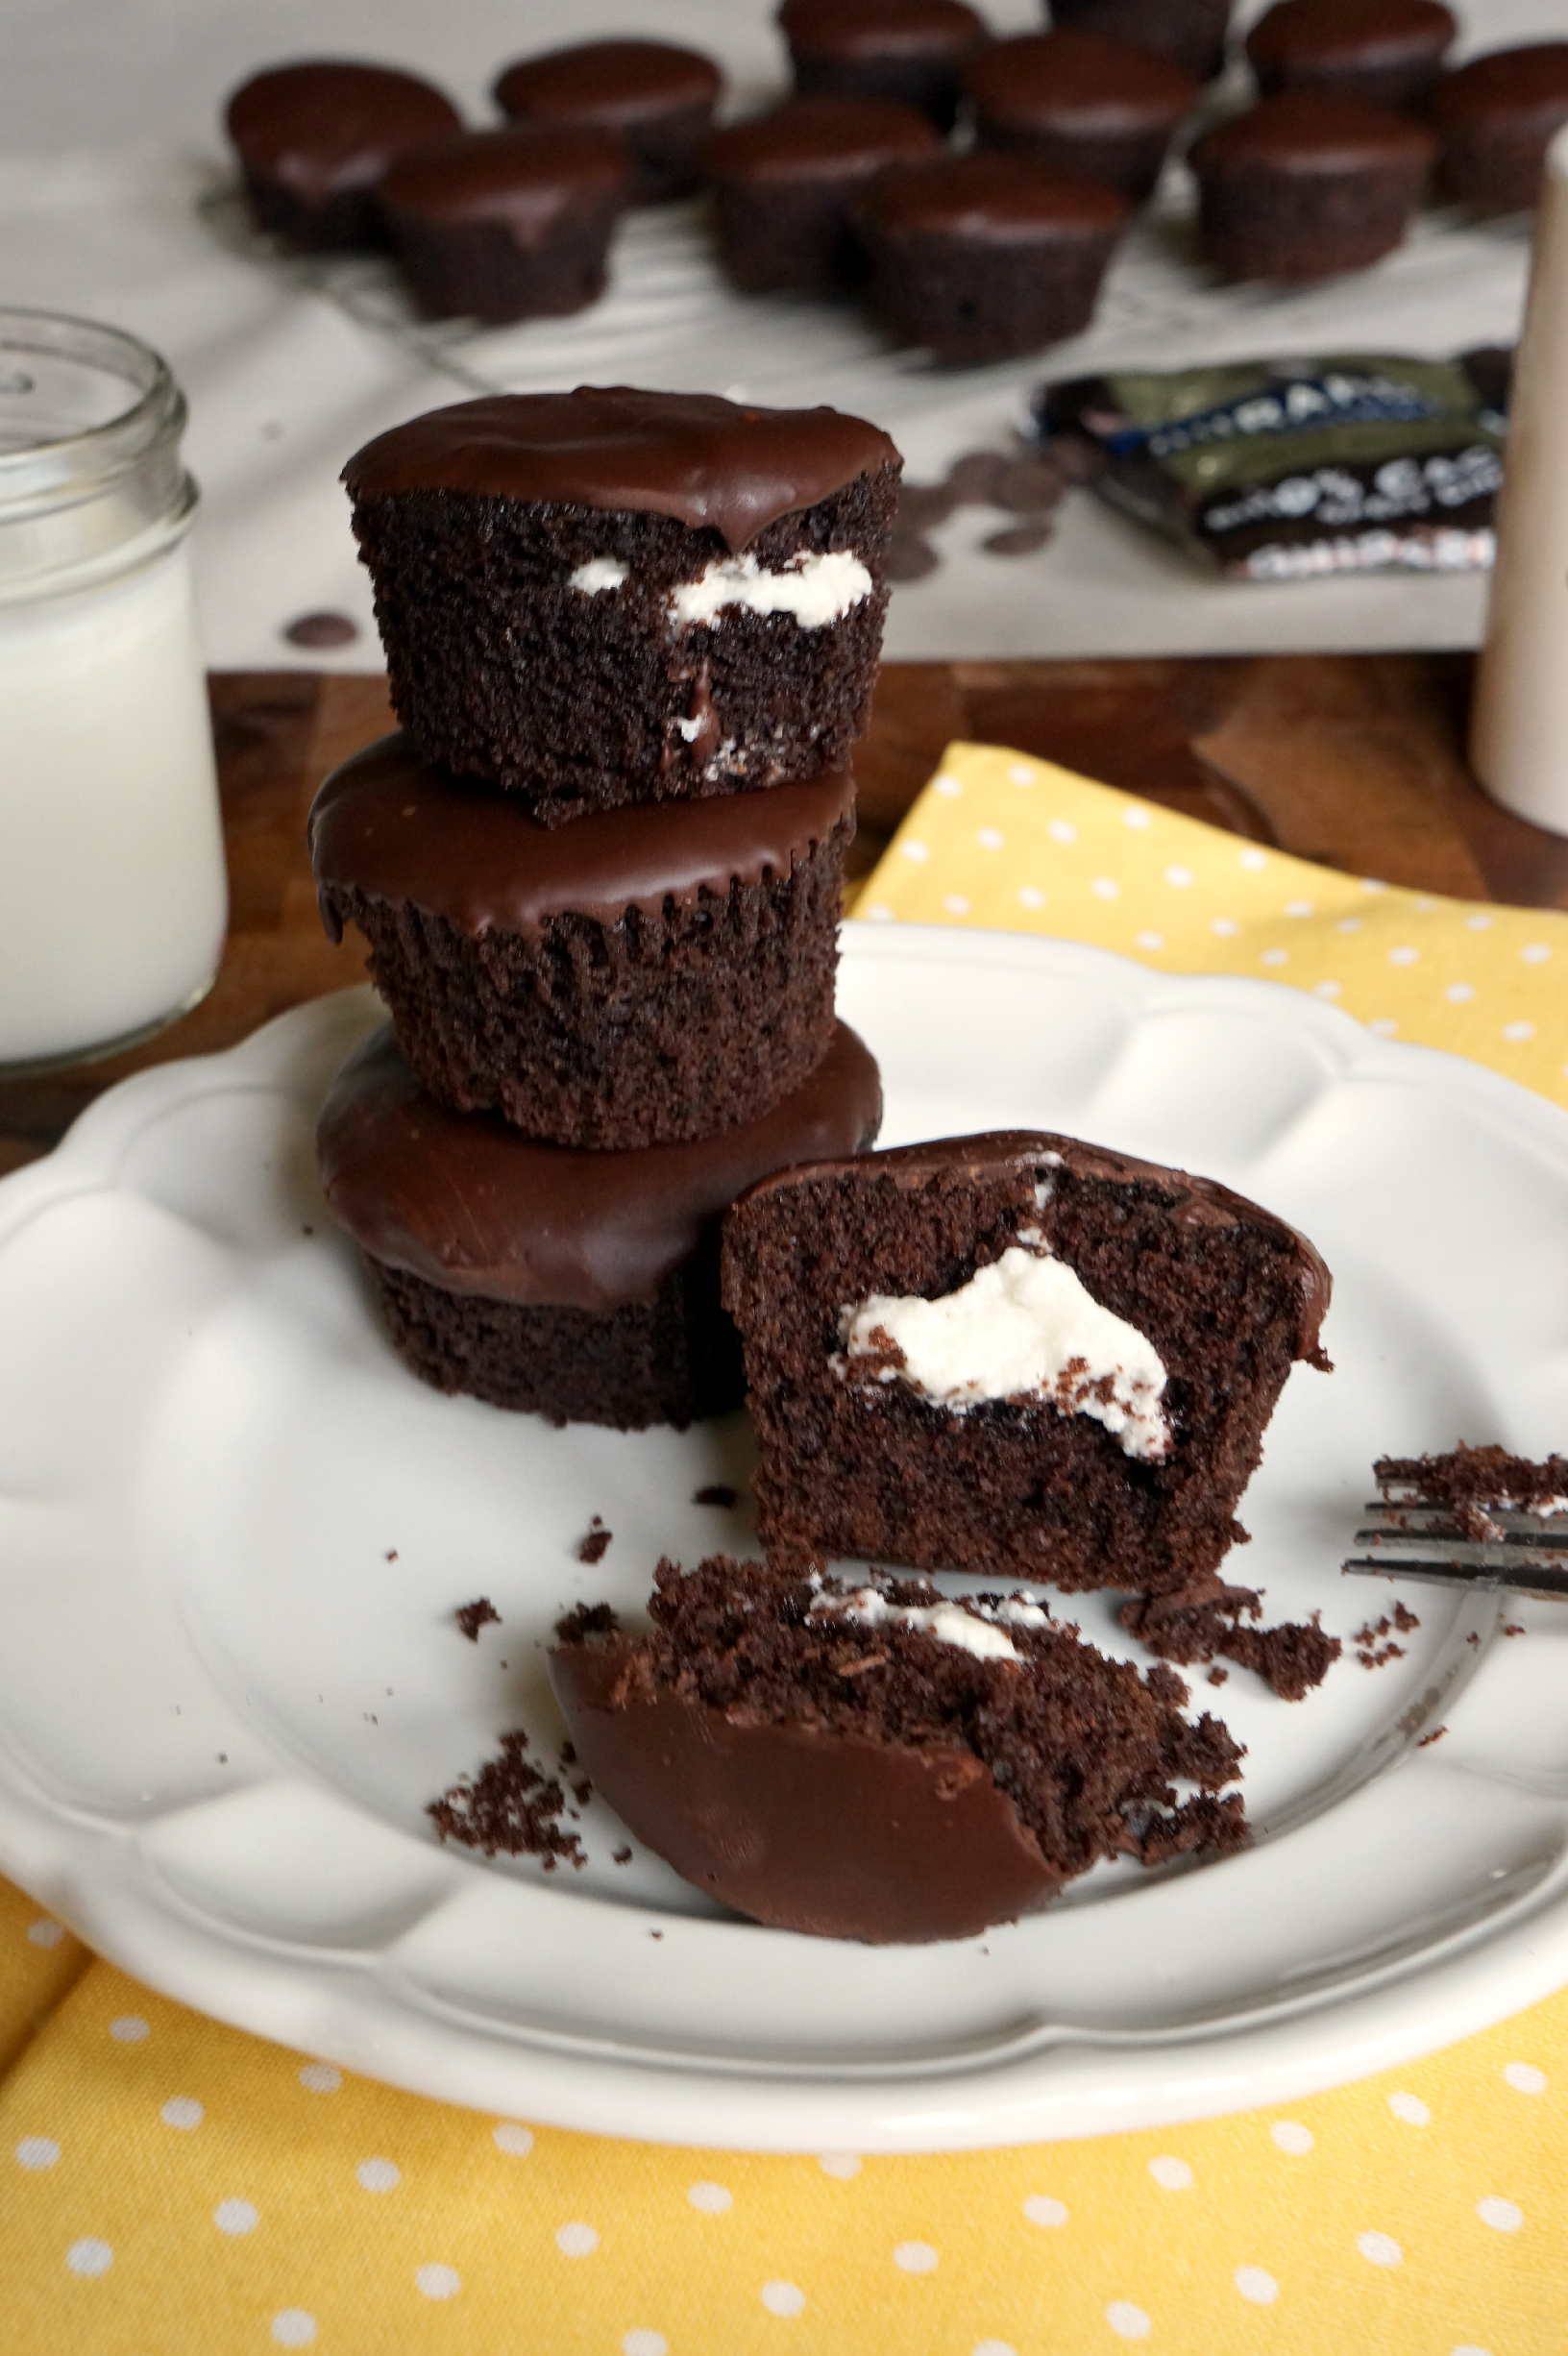
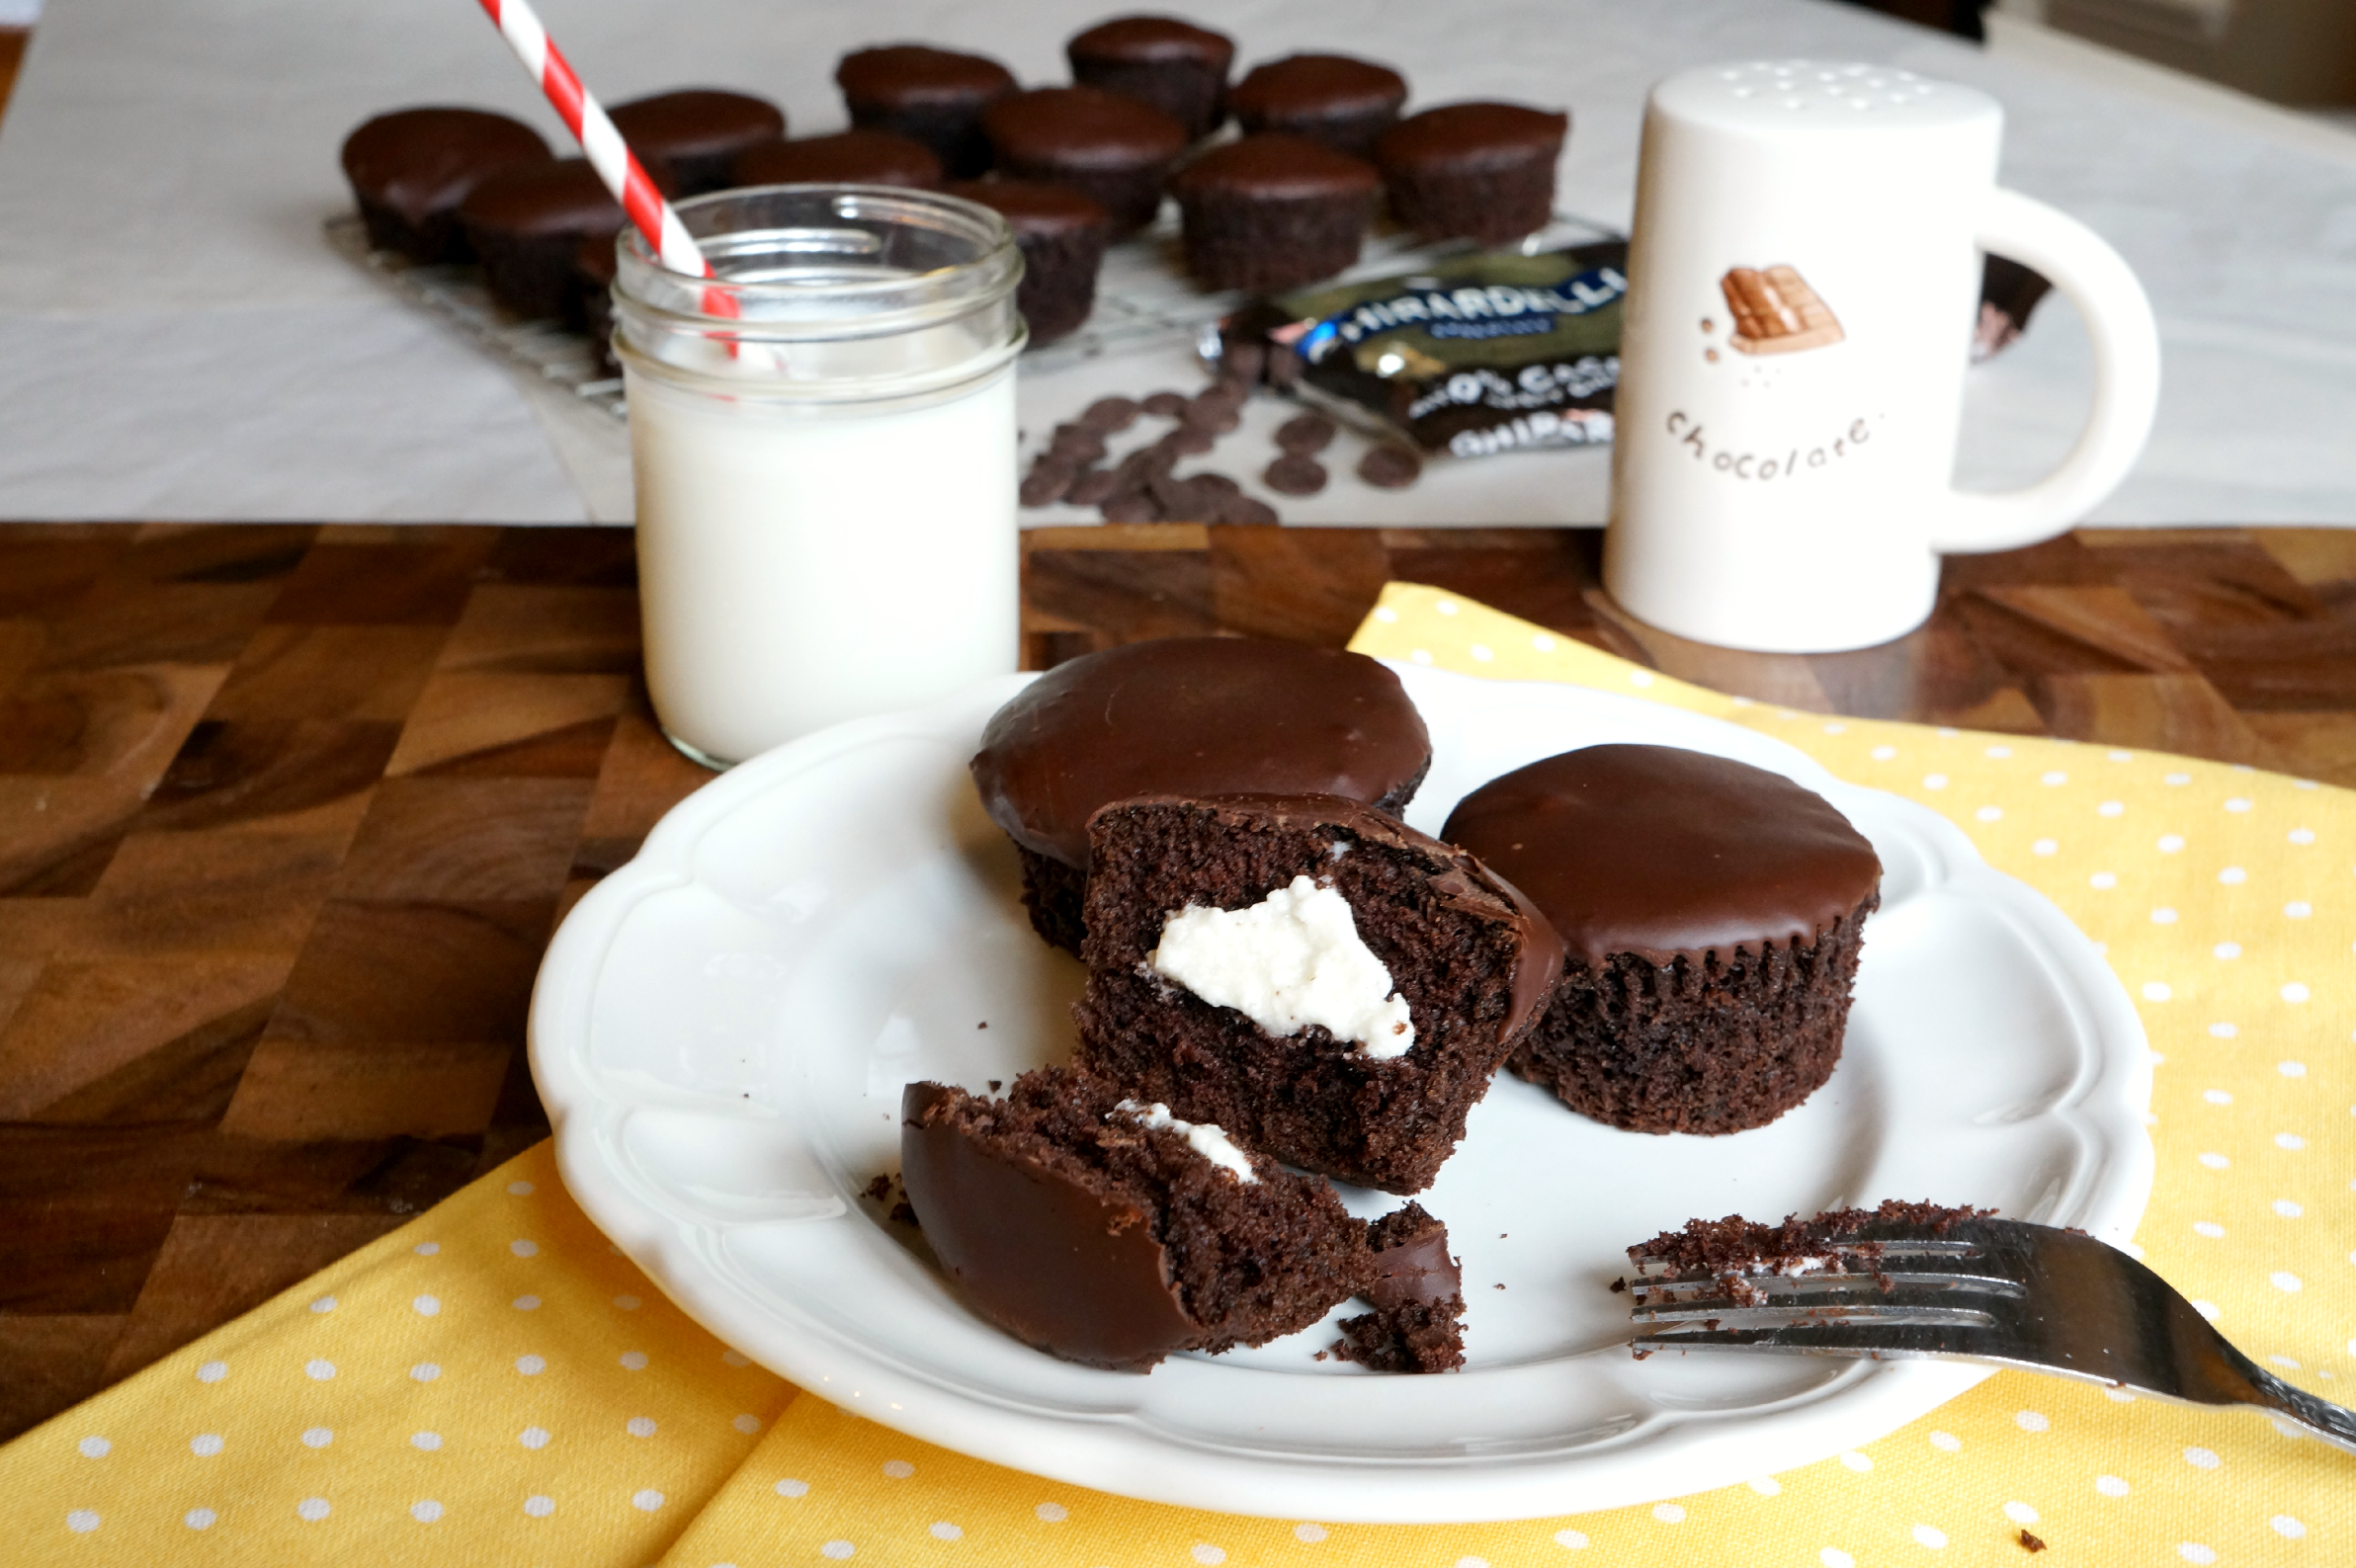
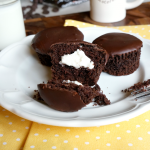
Have you ever had a Ding Dong? In case you haven't, or aren't sure what it is, a Ding Dong { sometimes called a Ring Ding }, is a little storebought chocolate cake that is filled with vanilla creme { debatably marshmallow creme, depending on who you ask }, and covered in a solid, delicious shell of pure chocolate. My brother was eating a plain, unfrosted chocolate cupcake the other day, and he went, "You know, if you made more of these and filled them with vanilla stuff, they'd taste EXACTLY like Ding Dongs. But probably better." So, being the kind of person that I am, I immediately got to work! These are simple but so unbelievably delicious. And yes, they are totally better than storebought { like, duh }.
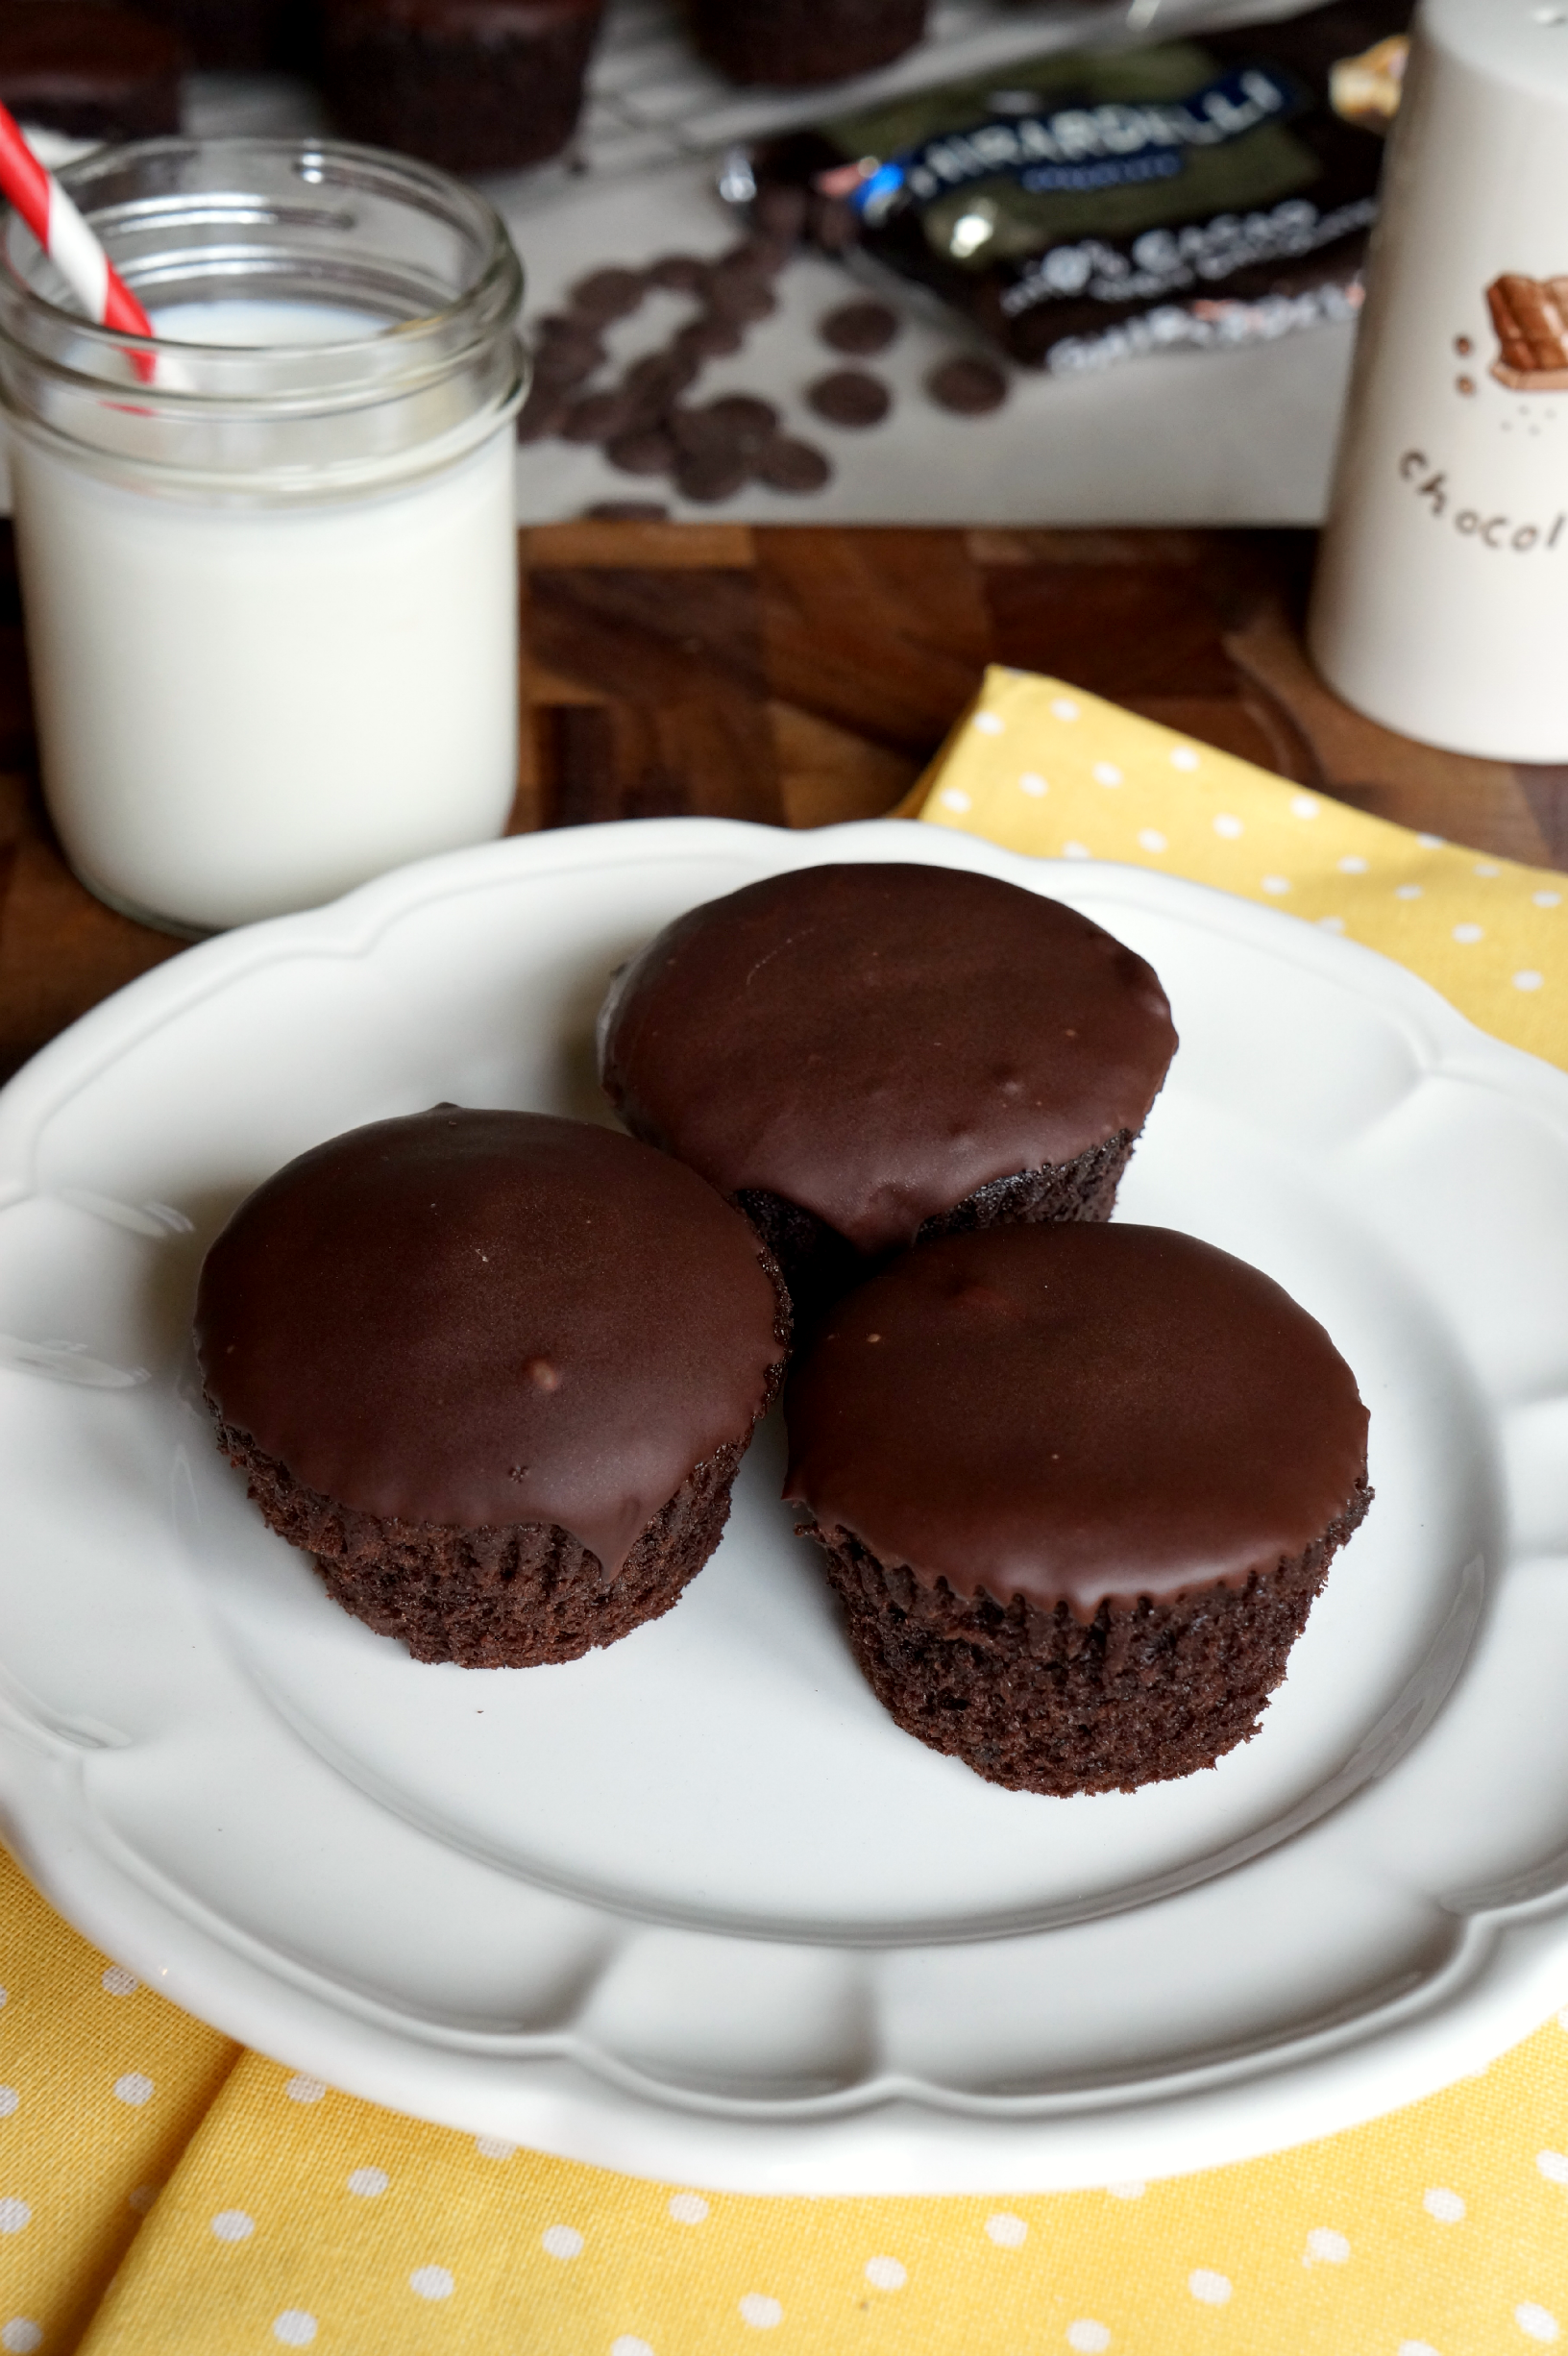
Going into it, I knew I wanted to just use my trusty chocolate cupcake recipe {used in Samoa-Bottom Cupcakes, Strawberry-Chocolate Cupcakes for Two, Small-Batch Cupcakes, and basically any time I make chocolate cupcakes... they're perf }, but I wanted to consult Pinterest for technique. And, I kid you not, 90% of the homemade Ding Dong recipes I found went something like... "Bake two round cakes. Cut cakes into rounds with a cookie cutter. Core out the center of the newly-cut cakes and fill with creme. Place bit of cupcake back onto creme. Cover entire thing with chocolate." Umm... nope, I don't think I want to do all that work. Let's make this easier! All I did was bake my batter in a regular cupcake pan that I filled ⅔ of the way { so the cakes would come out flat }. I then just removed the wrapper and... ta-da! I just skipped like 6 steps. I used an extra-long Wilton tip for stuffing, effectively avoiding having to core the cupcakes and then re-covering them. And for ease's sake { and to save a few calories }, I simply dipped the tops of the cupcakes in chocolate rather than slathering the whole thing. I'm all about having delicious food as easily as possible, and I think these combine maximum indulgence with as little work as possible. Happy baking and, til next time, stay sweet!
Ding Dong Cupcakes
Ingredients
- *for the cupcakes*
- 1 ½ cups all-purpose flour
- ⅔ cup cocoa powder
- 1 ½ teaspoon baking powder
- 1 teaspoon baking soda
- ¼ teaspoon salt
- 1 cup white granulated sugar
- ½ cup dark brown sugar
- 1 ½ teaspoon vanilla extract
- ¾ cup {1 ½ sticks} unsalted butter softened
- ¾ cup sour cream
- 3 eggs
- *for the filling*
- ¼ cup {½ stick} unsalted butter softened
- 2 cups powdered sugar sifted
- ¾ cup heavy cream
- 1 teaspoon vanilla extract
- ¼ teaspoon salt
- *for the topping*
- 1 cup dark chocolate chips melted
Instructions
- Preheat the oven to 350F.
- In a medium bowl, whisk together the flour, cocoa powder, baking powder, baking soda, and salt.
- In the bowl of a stand mixer, cream together the butter and sugars until light and fluffy.
- Add in the eggs, one at a time, beating well after each addition, then pour in the vanilla extract.
- Now, add in the dry ingredients alternating with the sour cream. Add in about half of the dry mixture, followed by the sour cream, and finishing with the rest of the dry ingredients. Beat until just combined.
- Line 3 muffin pans with cupcake liners { the colors don't matter as you will remove the wrappers anyway!} Fill the cups about ⅔ of the way, being careful not to overfill. You want the cupcakes to come out flat!
- Bake cupcakes for 12-15 minutes, until a toothpick inserted in the center comes out clean with just a few crumbs.
- Set aside and let cool completely before filling.
- In the bowl of a stand mixer fitted with the whisk attachment, beat together the butter and powdered sugar for the frosting.
- Beat until combined, then slowly pour in the heavy cream. Turn mixer onto high to make sure the cream gets whipped.
- Add in the vanilla and salt, and mix everything together. Set aside until ready to stuff.
- When cupcakes are completely cooled, remove wrappers and fill them with creme!
- Fill a pastry bag fitted with a Wilton 230 tip {stuffing tip} with the creme, and carefully insert the frosting tip in the center of the cupcake and squeeze. Go slowly and be careful, the cupcakes can fall apart when overfilled!
- Melt the chocolate chips in a small bowl or pot, and simply dip the tops of the cupcakes into the melted chocolate. Smooth the top with the back of a spoon if desired, and set on a wire rack to let the excess drip off.
- Place in fridge to let chocolate harden for at least 30 minutes before serving, and refrigerate leftovers.


decoracion de pasteles says
Very good article! We are linking to this great post on our site.
Keep up the great writing.
Lorrie says
Hello there! I just would like to give you a huge thumbs up for the excellent
information you have got right here on this post. I am returning to your
blog for more soon.
Lora Davidson says
Finally someone knows the filling in a Ding Dong is not marshmallow!
I think I must have used your recipe for the filling in the past but it was lost and I have spent two days looking for you. I want more of your recipes because you know texture and flavor and you know as I that a lot of really good cooks don't.
I rarely use a cake mix and even more rarely Betty Crocker but they have a Dark Chocolate and Yellow cake mix that are very close to Hostess Ding Dongs and Twinkies. I use your cream filling in both.
Thanks again!
Melanie says
I have a question for the cream filling. How long will it last? Should we keep these refrigerated? Is there any way to preserve it naturally so that it lasts longer? Thank you!