
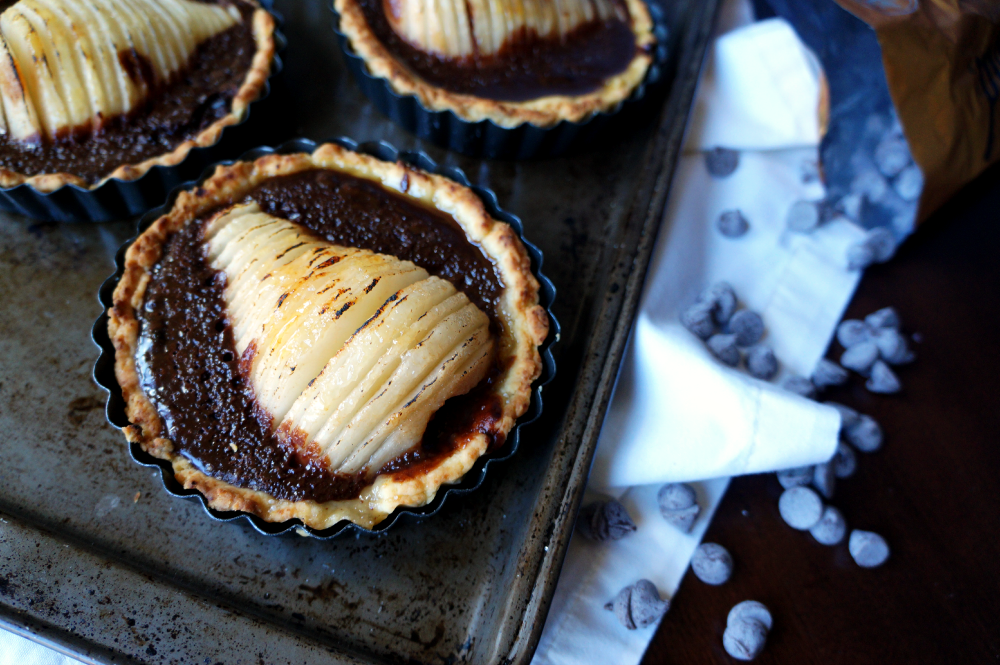
Hello, darlings! Today, I am sharing these totally scrumptious {and absolutely adorable} chocolate pear tarts! As I was perusing Pinterest for recipe ideas the other day, I stumbled upon a bunch of pretty little pear tarts with whole sliced pears in them. Obviously, I felt a strong and immediate urge to recreate this gorgeous, photogenic food in my kitchen. I looked through a few recipes, but some called for way too much butter, while others called for stuff I didn't have in the house and didn't want to go out to buy. Then, a lightbulb lit up over my head... I already have a perfectly good chocolate tart recipe! Why not just take that and, well, stick a pear in it? So that's what I did.
I feel like that's a huge part of food blogging for me... taking an old recipe I know and love, changing it up a bit, and creating a whole new dish out of it! My family is straight-up obsessed with the good ol' truffle tart, but they totally loved this pear version, too. Pears and chocolate are kind of an unusual combination, but we love this Dark Chocolate Browned Butter Pear Cake around here, and there's also this dark chocolate pear strudel my mom makes that I will just have to share soon!
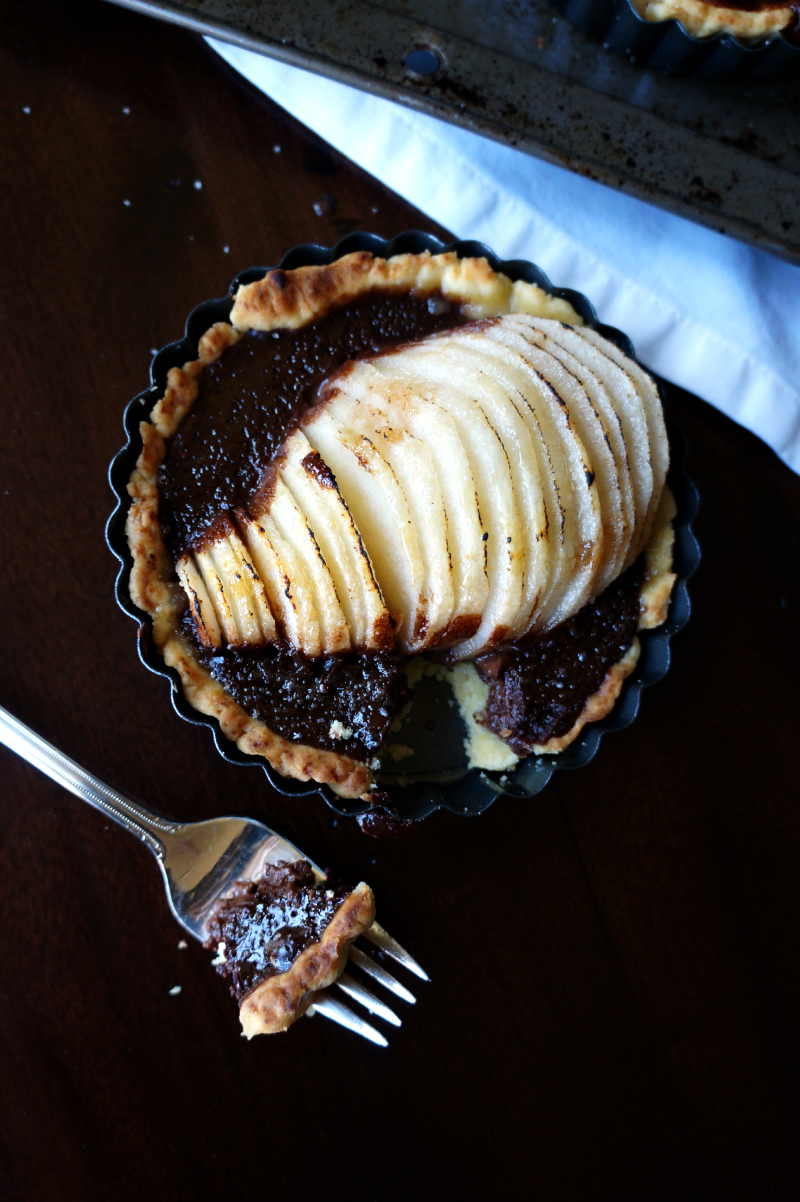
This recipe is honestly really easy, and only slightly time-consuming. Funny how back in the day, when I was firmly convinced recipes just HAD to be followed to a T, the famous truffle tart would take me for-e-ver. Because the crust is butter-based, you're supposed to make the dough and let it rest in the fridge. Then roll it out, and put it in the pan, and let it chill some more. THEN bake with pie weights. And then finish baking without the pie weights but still empty. And then FINALLY {approximately 7 years later}, pour the filling in and bake it until the filling is done. And THEN, after all that, you still have to chill the tart for several hours so the filling can solidify. I'm honestly tired just typing that out. Because I'm an impatient little brat {and also because I've found through years of experience that it hardly makes a difference}, I just made the dough, rolled it, put it in the pans, and put it straight in the oven with the pie weights. After par-baking, I put the pears and chocolate cream in them, and finished baking. With the pears, I honestly preferred the filling slightly soft and warm, as opposed to the solid, truffle-style filling of the original. Same flavor, but a lot less time and effort! That's what I'm all about. 🙂
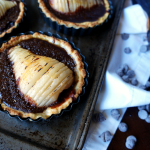
chocolate pear tarts
Ingredients
- *for the crust*
- 2 cups all-purpose unbleached flour plus extra for dusting
- 3 tablespoon sugar
- ¼ teaspoon salt
- ¾ cup 1 ½ sticks unsalted butter, cold and cut into cubes
- 1 egg yolk
- 2 tablespoon cold water
- *for the filling*
- ½ cup heavy cream
- ¼ cup skim milk
- 5 oz. dark chocolate
- ⅛ teaspoon salt
- 1 egg
- 3 ripe pears
- 2-3 tablespoon sugar separated
Instructions
- First, make the crust. Combine the flour, sugar, and salt in a large bowl. Using a pastry blender, cut in the butter until it resembles coarse sand.
- Make a well in the middle of the pastry, and pour in the ice water and egg yolk; work it in with your hands until no longer overly wet and sticky.
- Preheat the oven to 350F.
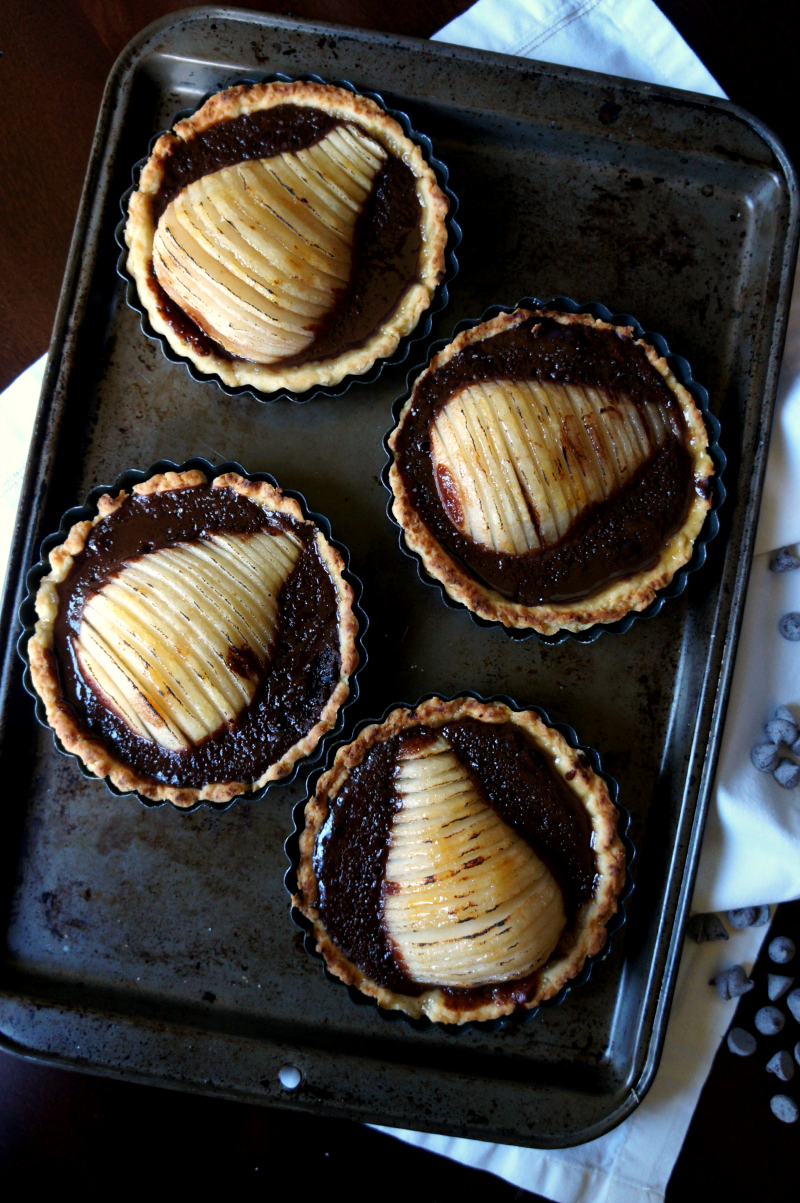
- Divide the dough into 6 equal parts, and using a well-floured rolling pin, roll each out to a rough circle, being sure not to roll them out too thin. Place each circle in a small tart pan.
- Cover each tart with foil, pressing into the bottom and sides, and fill each with pie weights or dry beans.
- Bake for 15-20 minutes, then remove the foil/weights, and bake for 5 more minutes.
- While the crust bakes, prepare the filling.
- Heat the cream and milk in a medium nonstick saucepan over medium heat, until bubbles start to form around the edges. Remove from heat, and add the chocolate, stirring until melted and smooth.
- In a separate small bowl, beat the egg and salt well, then add a little at a time, whisking vigorously until incorporated.
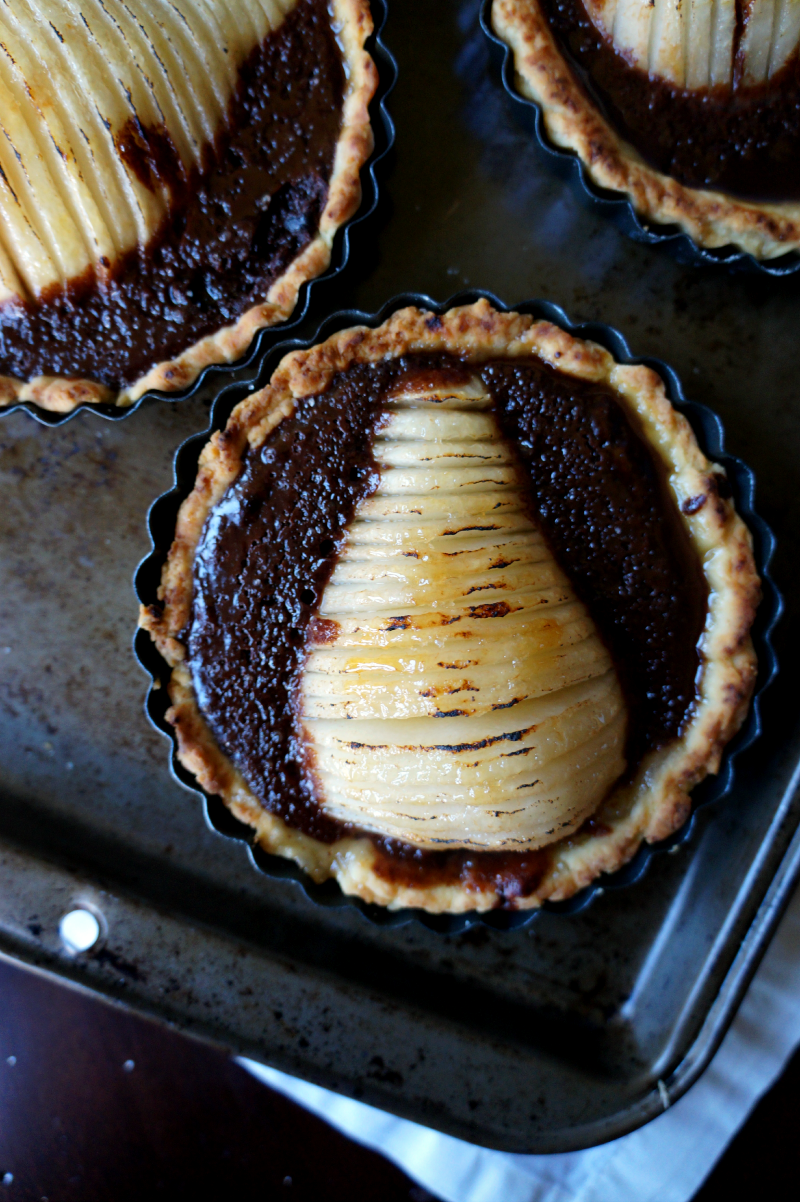
- Wash, peel, and slice the pears thinly. If they are not ripe enough to be very soft, you can microwave them 30 seconds at a time until they become softer... they do not bake in the oven long enough to cook all the way through.
- When the crusts are ready, remove from the oven and turn the oven temperature down to 325F.
- Spoon a bit of the chocolate filling in each tart, then top each with half a sliced pear. Spoon in more filling around the pear, sprinkle the surface of the pear with the sugar, then return to the oven for 10-15 more minutes.
- If you want to caramelize the pears more, broil the tarts for the last 30 seconds or so of cooking.
- Let cool slightly then enjoy!


Leave a Reply