
Hello, darlings! I hope everyone had a great Thanksgiving! And, well... since now Thanksgiving has passed... it means it's Christmas time! Sorry if I'm obnoxious, I just love Christmas so much and it's seriously my favorite time of the year. I'm sure everyone is still trying to recover from the ridiculous amounts of food consumed with family, but if you were hoping for a healthy recipe... sorry to disappoint. Today, I am sharing these adorable hand pies made with storebought pie dough and filled with the simplest mixture of fresh blackberries, sugar, and a smidge of lemon juice. Let me show you how it's done!
I want to say that I've talked about my mythical blogging notebook before. It's just a little notebook where I jot down literally every single recipe idea I ever think of. See something on tv? Writing it down. Facebook? Magazines? Grocery store freezer aisle? {hey, it happens}. It all goes in. The idea for hand pies had been in the notebook since last Christmas. Because, well, sometimes I come up with ideas in the entirely wrong season {sweet potato donuts in April, I'm looking at you}, and sometimes I just don't get to them in time. I was planning on making some chocolate-pecan hand pies, which might still happen honestly, but blackberries were on sale at $0.99 a container, so I took that as a sign that these needed to be berry hand pies!
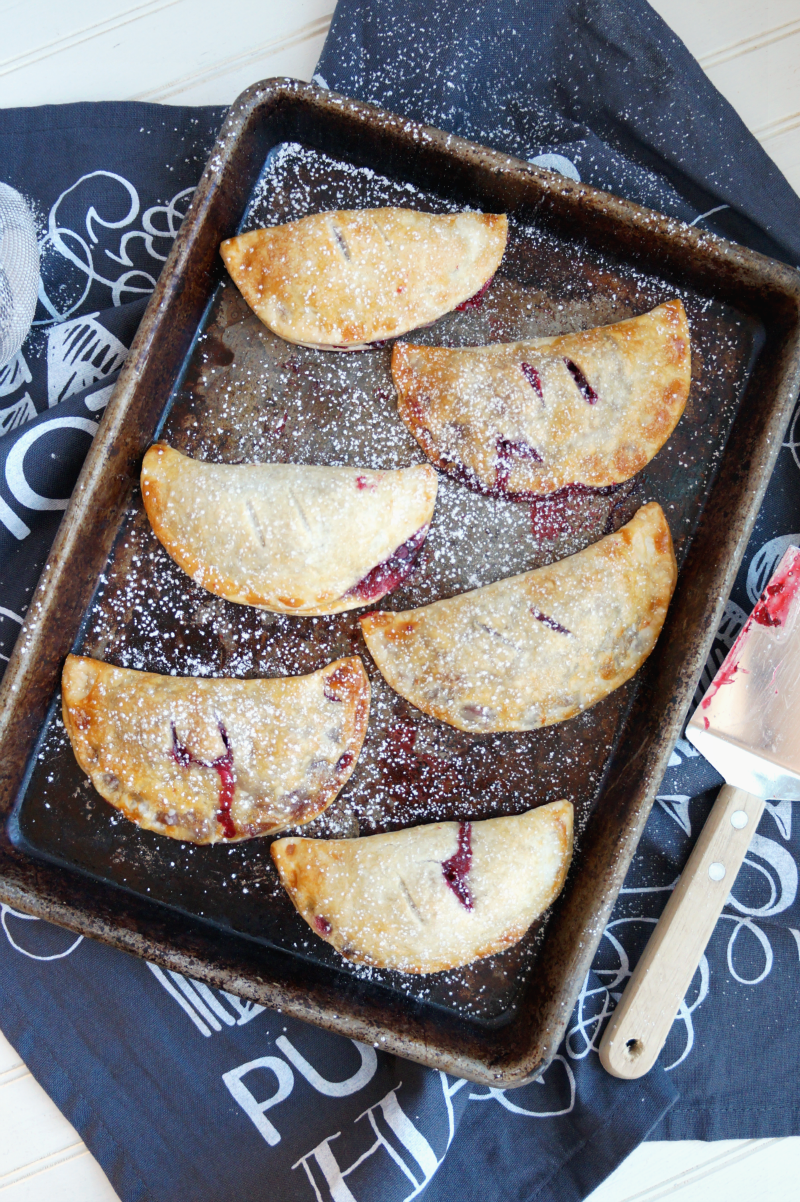
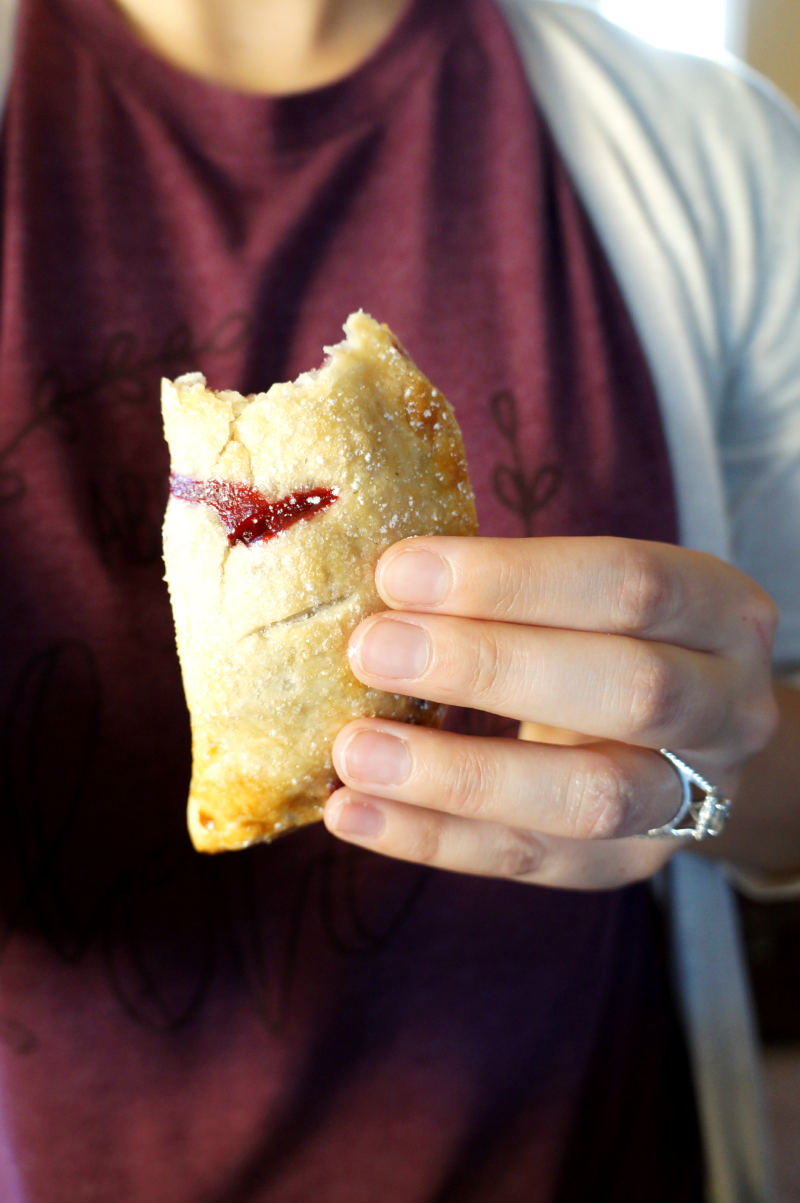
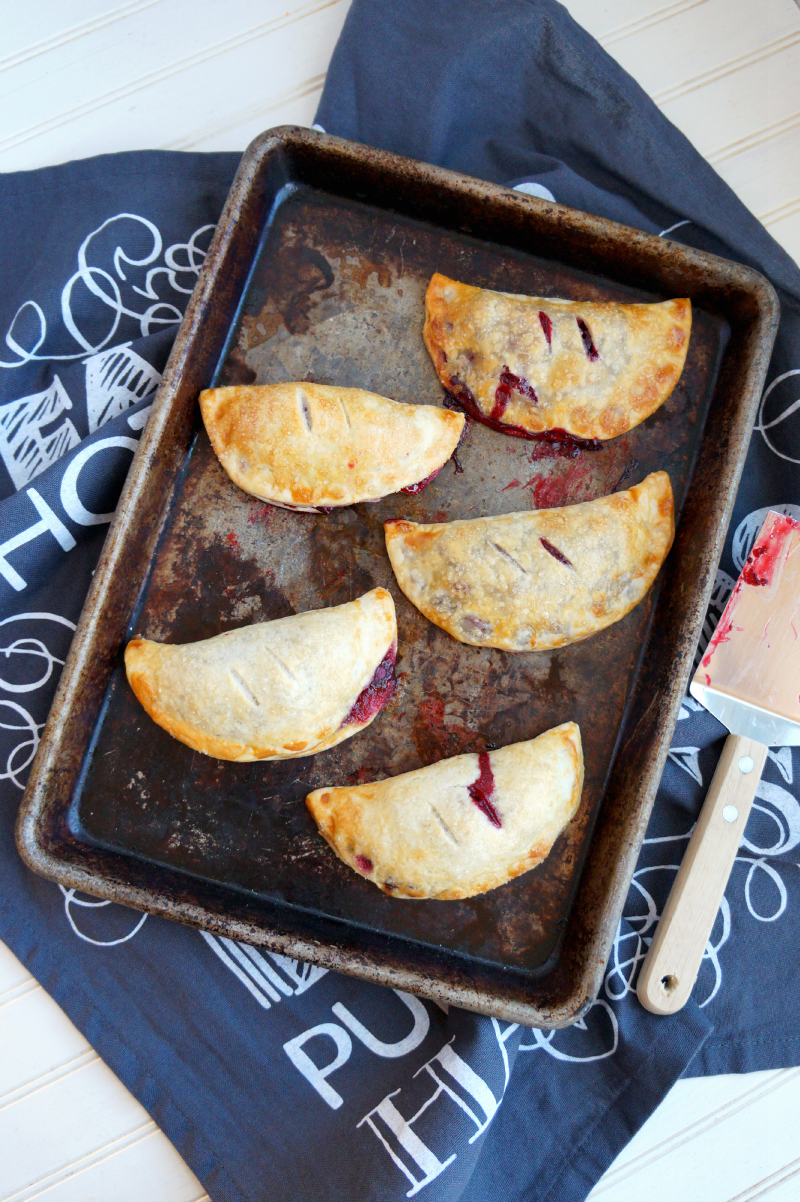
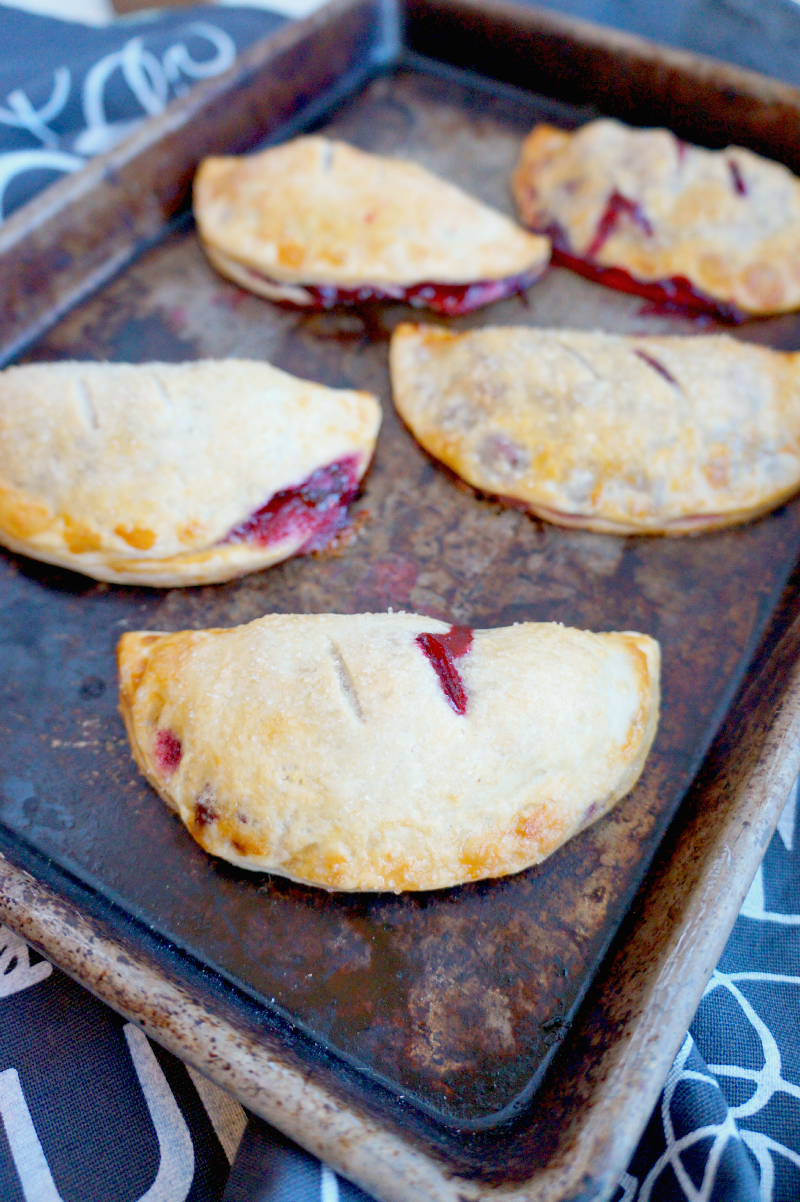
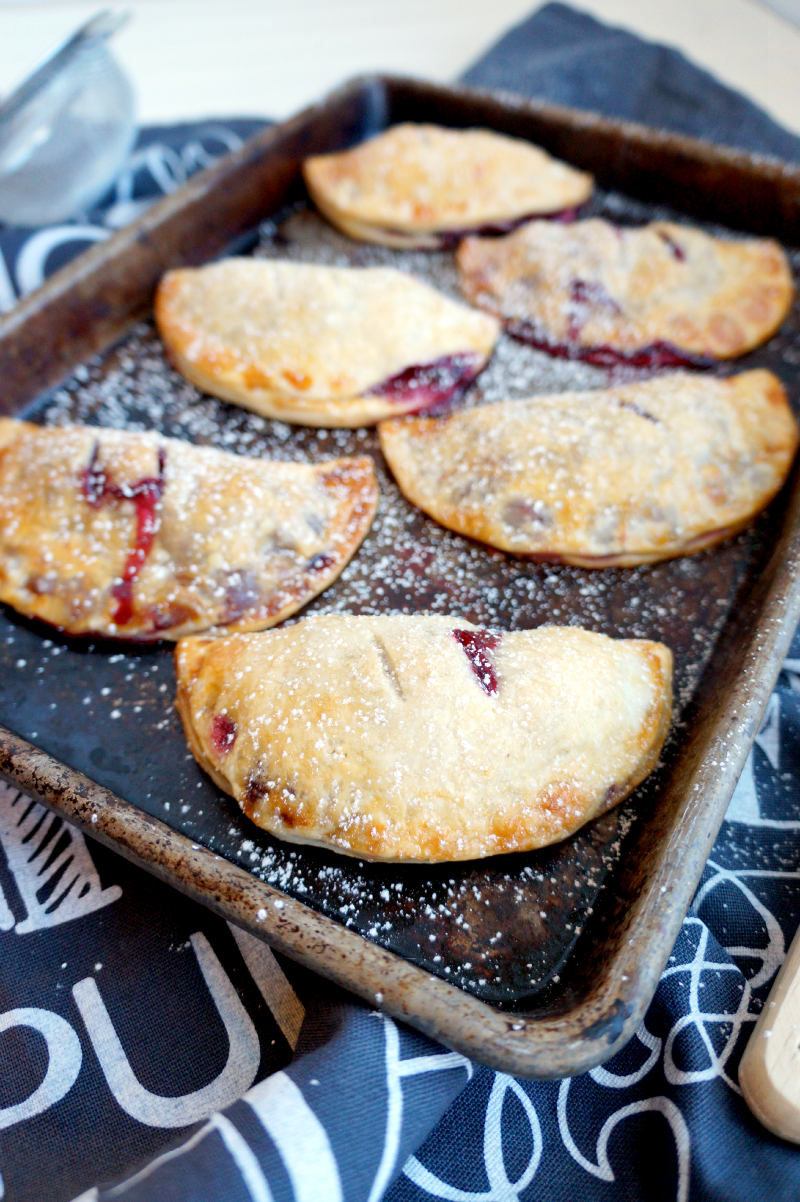
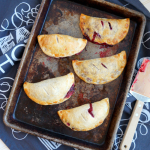
These little sweet treats are incredibly simple, but so yummy. You start by grabbing some refrigerated pie dough, and rolling it out just a bit thinner than it already is. Keep in mind not to make it too thin, however, or your pies will turn into all kinds of crispy, crunchy messes. You can see the difference if you look carefully at the picture of the pan of pies! But, well, if crispy pie dough is what you like, I say go for it! ANYWAYS. You roll out the dough and cut it into circles. Then for the filling, you toss together fresh blackberries, sugar, cinnamon, lemon juice, and just a bit of flour to thicken things up. Fill the circles of dough with the blackberry mixture, seal them up into half-moons, cut little steam-slits on top of the pies, brush the top with beaten egg, and sprinkle with a little sugar. Then pop them in the oven, and you will be rewarded with perfect little hand pies in no time!
blackberry hand pies
Ingredients
- 1 package {2 crusts} refrigerated pie dough
- 12 oz {2 containers} fresh blackberries
- ¼ cup sugar
- 3 tablespoon all-purpose flour
- 1 tablespoon lemon juice
- ½ teaspoon cinnamon
- 1 egg beaten
- additional sugar for topping
Instructions
- Preheat the oven to 375F, and line two baking sheets with parchment.
- First, prepare the filling. Rinse the berries well, cut them in half, and place them in a medium bowl. Add in the sugar, lemon juice, cinnamon, and flour, and mix well.
- On a well-floured surface, lay out the pie crusts and gently roll them out to ¼" thickness.
- Using a large cookie cutter or other round object, cut out circles about 5 inches across.
- Place the circles of dough on the baking sheets, and spoon about 1 tablespoon of filling in the center of each.
- Fold the dough over, and press the edges firmly with your fingertips to seal. Using a knife, gently cut 2-3 small slits on the top of each pie. Brush them with the beaten egg, and sprinkle a little bit of sugar on top.
- Bake for about 20 minutes, until golden brown and flaky. Let cool slightly, and enjoy!


Elly Leavitt says
Ah these look so good! Christmas is also my favourite time of the year, mostly because of all the food haha. Great post xx
Skye says
My kiddo would flip for these.
Kari says
These look delicious! I love little hand pies!
Odessa | Odessa darling says
These are so cute, and look super delicious!
Linda Jameson says
Our neighbor brought us fresh blackberries. I made your hand pies and they turned out delicious. I did whip up some cream cheese, vanilla and sugar and added a tablespoon in each pie. Thanks for the help, I am not really a baker but these were so easy.
Kelsey says
Thanks for sharing this simple recipe! I tried it and shared my experience over on my blog: https://www.engineerthatcould.com/single-post/Blackberry-Hand-Pie. I linked the recipe back to here - I hope someone else finds this and is excited about it as I was!
Emily says
I made these hand pies! They tasted great! I did think there was too much filling for the amount of crust. I used fresh black berries I had picked two days before... so maybe they were juicier. Over all, they tasted great.