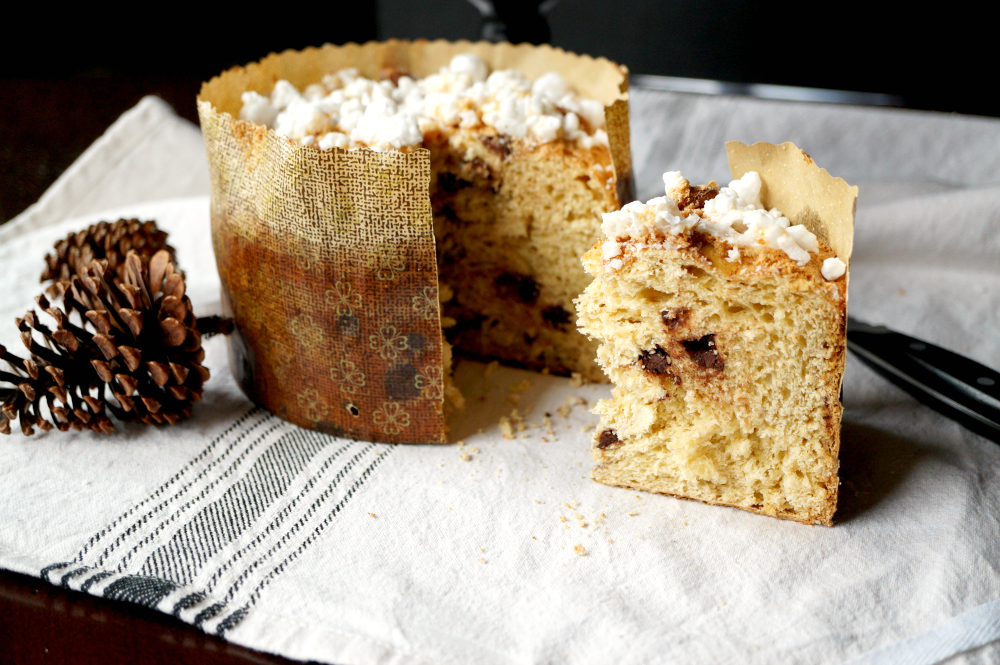
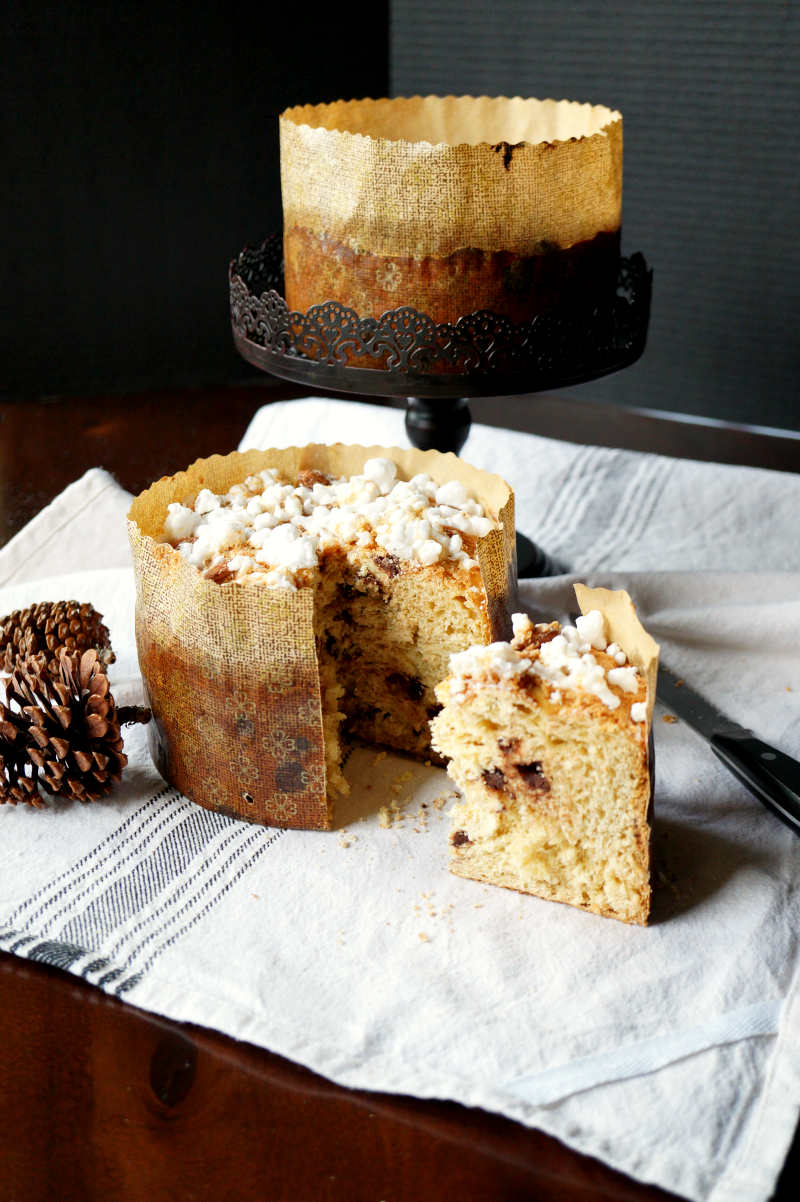
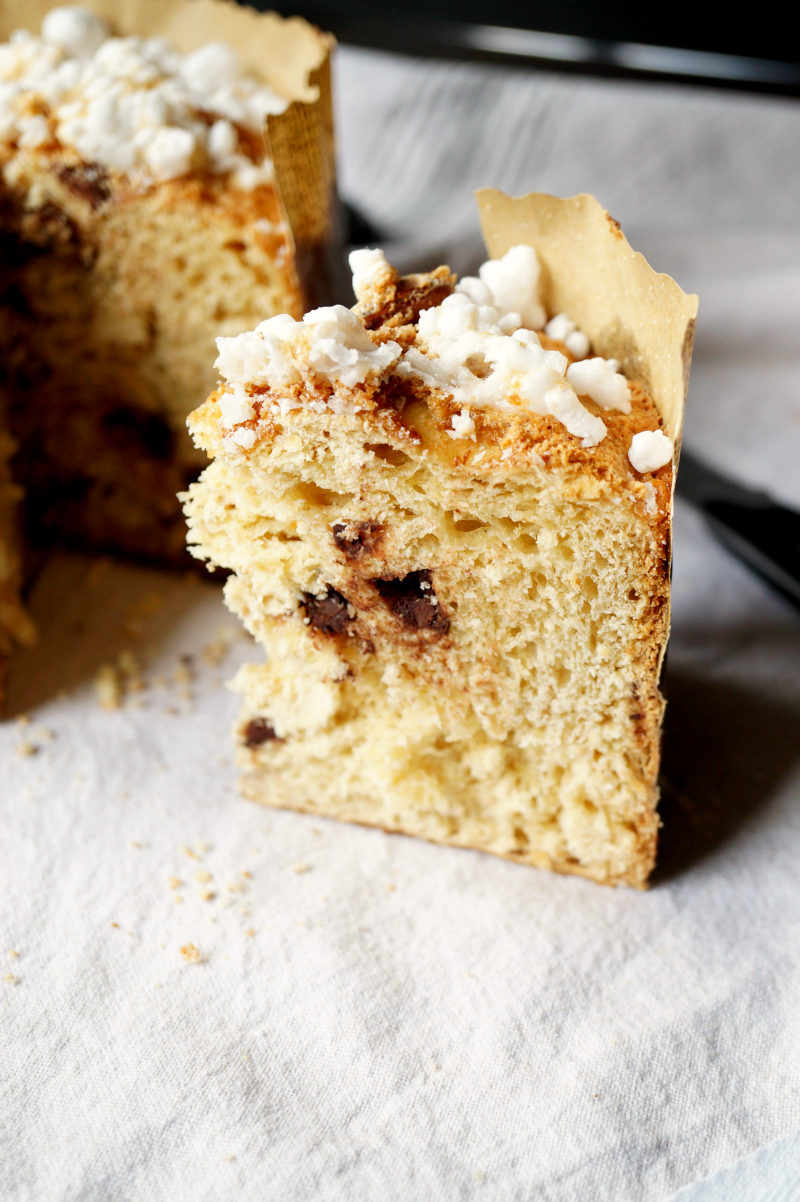
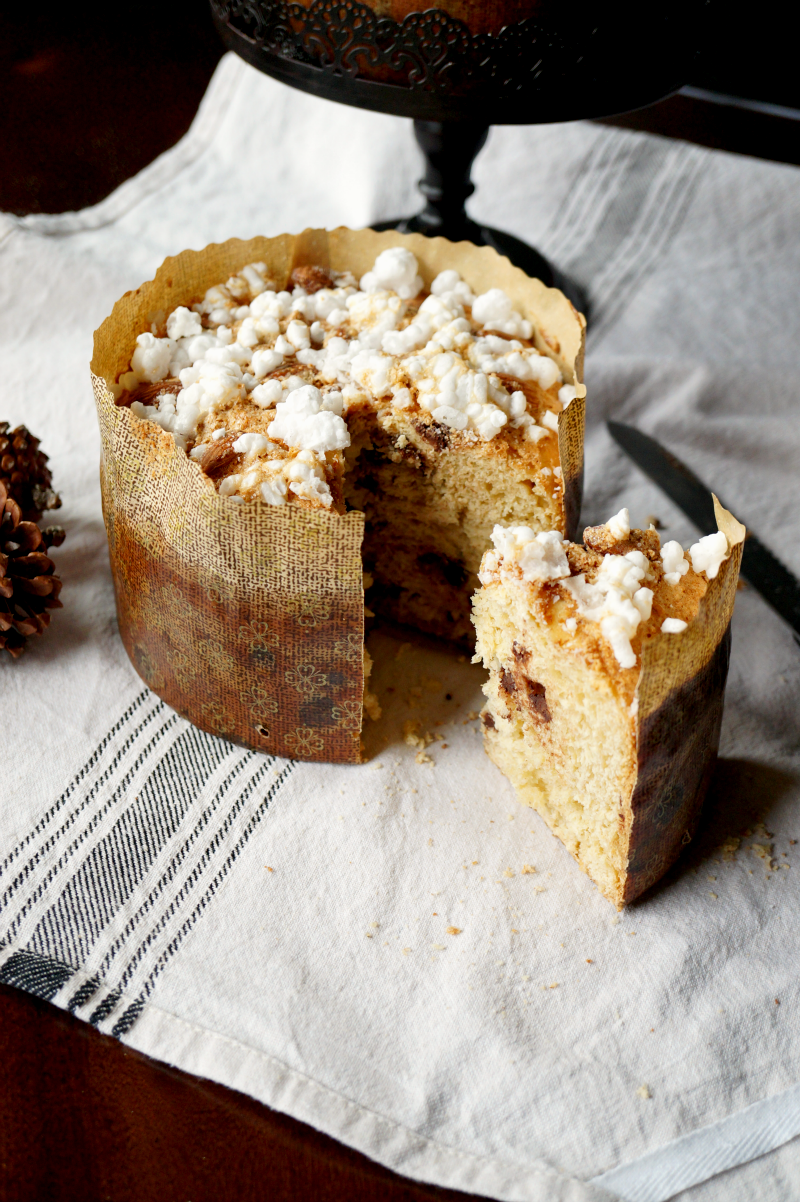
Hello, darlings! I am so excited to finally be sharing this little project today, after several days of work... homemade Panettone! Panettone is a traditional Italian dessert that is eaten around Christmas and New Year's, and it's a fluffy, orange-scented cake typically studded with different types of candied fruit. I couldn't find any good candied fruit in my area, and I'm not a big fan of them anyway, so I chose to throw in a handful of chocolate chips instead. Chocolate is always a good choice, am I right? 😉
I will start this off by saying that while panettone is really delicious, making it a homemade project is not for the faint of heart. This baby takes about 4 days of work between kneading and rising, and even then, success is not guaranteed. The panettone dough is notoriously finicky, and one foul move could send all your hard work sinking down into a dense, sad loaf. This was actually my second time attempting the project, and while I was cautiously optimistic, I have to say I'm very pleased with how they came out! I will admit they're a little denser than I was going for, but the flavor is totally spot-on. Maybe I will re-attempt next year!
So, what do you say? You ready to get to work?! Here's a few things you'll need before you start.
- A scale. Panettone is very finicky, so for optimum results, everything needs to be weighed out in grams. You can convert the measurements into cups if you want, but I will be posting grams because that's how I did it. If your measurements are off even by a bit, you could jeopardize the whole dough, so be careful!
- Panettone papers. Can't make panettone without the proper vessels! I bought THESE from King Arthur Flour, which worked out great {but are admittedly a little small}.
- Fiori di Sicilia essence. I bought this from King Arthur Flour as well, and it's an essence of citrus and vanilla {a little different than an extract}. This definitely gives your panettone the traditional flavor. If you don't want to make the splurge, just use equal amounts of vanilla extract and orange extract when the time comes, or add in some fresh orange zest.
- Optional but awesome: a stand mixer with a dough hook. This is a bread-type recipe, so lots of kneading is required. The mixer can do a lot of the work for you, but if you don't have one, be ready for an arm workout!
Since you'll need to do each step on a separate day, I will list the ingredients you will need in each step separately, as opposed to all at once. Since you won't be using them all at the same time anyway. 😉 But the ingredients list is pretty basic: bread flour, all-purpose flour, eggs, unsalted butter, granulated sugar, honey, Fiori di Sicilia essence (or vanilla extract and orange zest), and of course, water and yeast. Can't forget the basics. Let's get to work!
Day 1: Make the starter
80 g bread flour
14 g instant yeast {should be 2 standard packets}
50 mL warm water
In a large bowl, combine the water and yeast and mix to dissolve. Mix in the flour, and knead until a dough comes together. If it's too stiff or crumbly, add in a little extra water, but take care to not make it too watery. This is your starter! Cover the bowl tightly with plastic wrap, and place it somewhere warm for at least 4-6 hours so it can rise. I recommend placing it in the oven, turned off, but with the light on.
Day 2: Make the first dough
90 g of starter dough
160 g bread flour
100 g all-purpose flour
70 g unsalted butter, at room temperature
70 g granulated sugar
2 egg yolks
170 mL warm water
In the bowl of a stand mixer, combine 90g of your starter with the warm water, and mix using the dough hook until the dough is soft and the water has been absorbed. In a separate medium bowl, whisk together the bread flour and AP flour, and add it a spoonful at a time to the dough in the mixer. Wait until a spoonful has been completely worked into the dough before adding more. In a small bowl, whisk together the egg yolks and sugar until creamy, then slowly add in to the dough as well. Finally, add in the butter in small additions. When everything has been worked in, knead the dough for about 20 minutes. It should be soft and elastic! Cover the bowl tightly with plastic wrap, and place in the turned-off oven with the light on to rise for 10-12 hours {the longer the better!}
Day 3: Make the final dough
160 g bread flour
20 g all-purpose flour
20 g melted unsalted butter, at room temperature
20 g granulated sugar
10 g honey
2 egg yolks
3 g salt
½ teaspoon Fiori di Sicilia essence
½ teaspoon vanilla extract
1 cup semisweet chocolate chips
Take the dough you already made, and put it on your stand mixer with the dough hook. While it's running, slowly add in the honey, then add in the flours, one spoonful at a time. Add in the salt and keep kneading. In a small bowl, whisk together the egg yolks and sugar until creamy {just like yesterday!}, and slowly add it into the dough. Finally, add in the melted butter, Fiori di Sicilia, and vanilla extract. Knead for about 15 minutes. Remove the dough from the bowl, and place it on a clean, lightly floured surface. Knead in the chocolate chips, then divide the dough in half, and fold the two resulting balls to help them rise. Here is a YouTube video to see how to fold! You will basically be making tight little rolls. Place each resulting ball in a panettone paper, place these on a cookie sheet, cover with plastic wrap, and return to the turned-off oven. You want them to rise for 4-5 hours at this point, until they are close to the top edge of the paper.
Day 4: Make the glaze and bake
Okay, so you don't have to glaze your panettone, but I think the sugary crust is delicious!
For the glaze
1 egg white
40 g powdered sugar
40 g crushed Amaretto cookies
25 g whole almonds
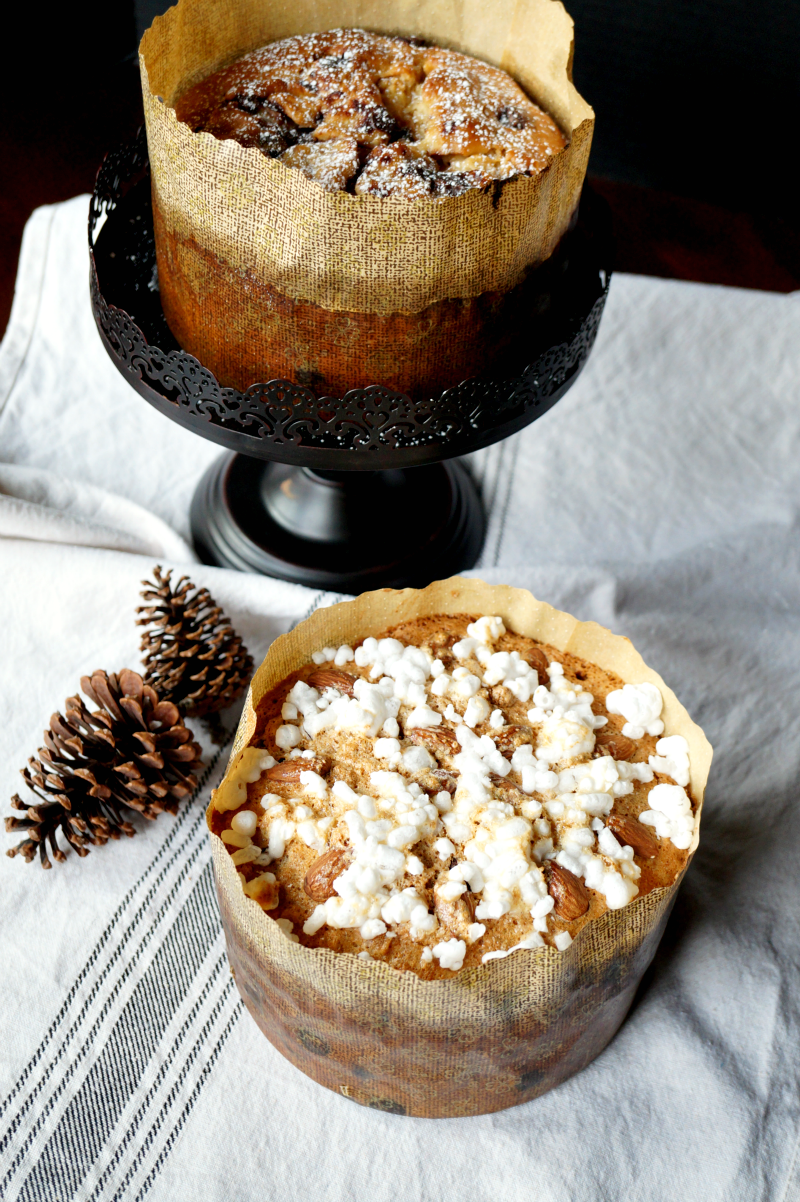
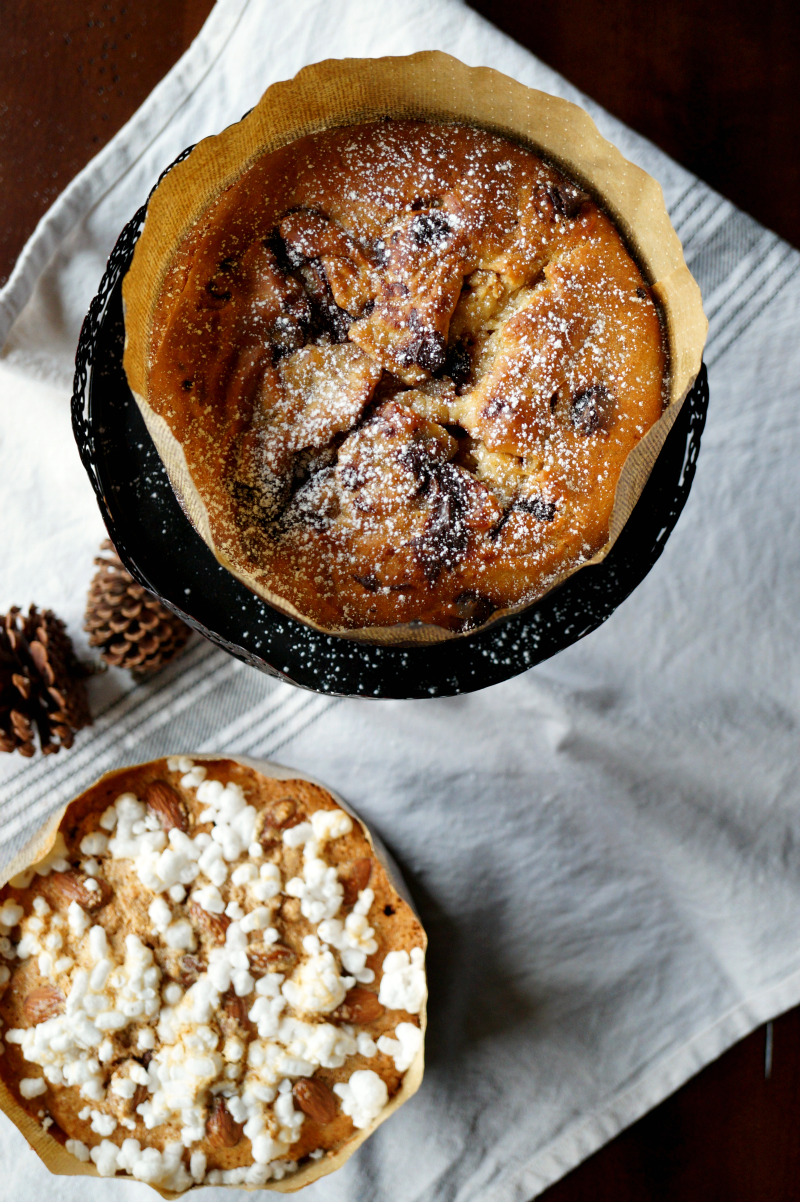
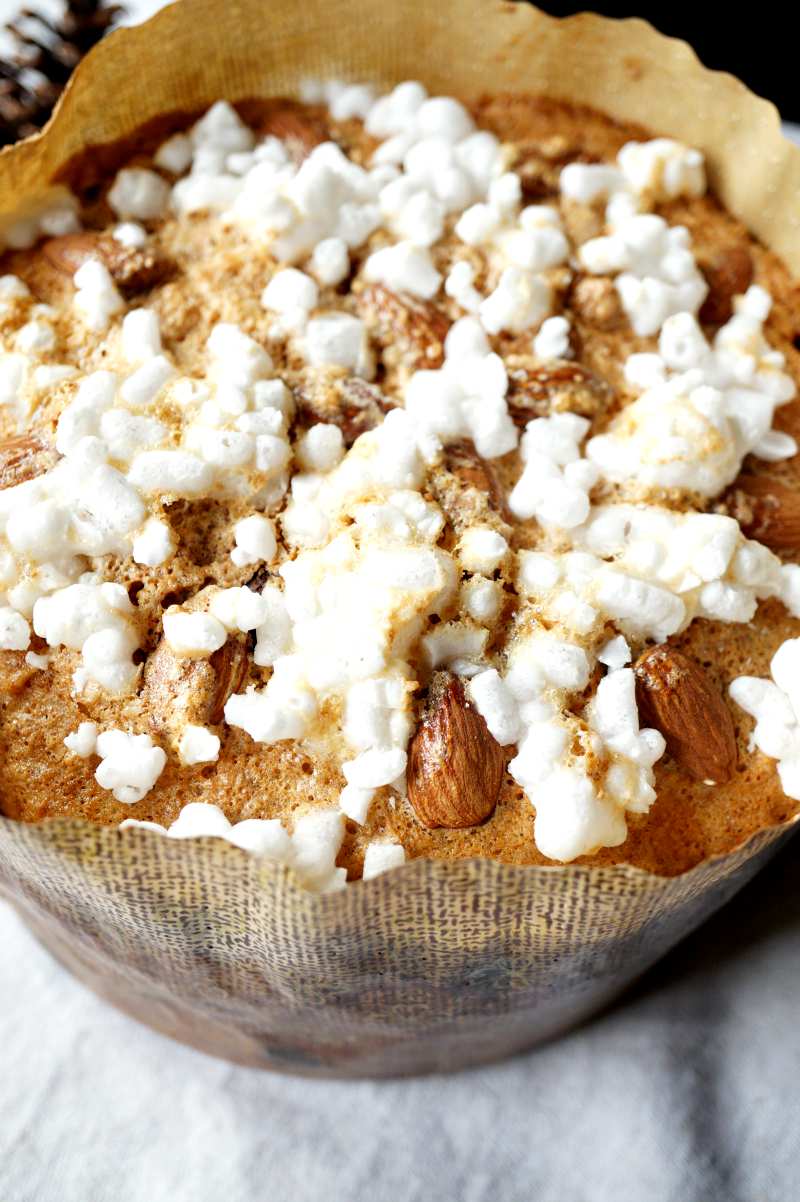
To make the glaze, whisk the egg white and powdered sugar together until light and fluffy. Add in the crushed Amaretto cookies and mix until a thick cream forms. After you glaze your panettone, you will top it with the whole almonds and pearl sugar.
For the pearl
50 g powdered sugar
4-5 mL water
To make the sugar pearls, combine the powdered sugar and water until a stiff mixture forms. Using a potato ricer or a perforated spoon {basically something with smallish holes in it}, press the mixture through to make small sugar "sprinkles". Allow to air-dry until hardened before using, or bake at a low temperature {think 250-300F} for a few minutes to speed it up.
Time to bake the panettone! Carefully remove your rising panettone dough from the oven, and turn the oven on to 375F. Carefully spread the amaretto glaze on top of the panettone, and top with the almonds and sugar you made. If not making glaze, carefully cut an X on top of the panettone with a very sharp knife, and top with a small pat of butter. When oven is ready, bake at 375F for about 7 minutes, then open the oven to let the steam out {I'm not crazy, I promise!}, then lower heat to 350F, and bake for 30 minutes longer. When tested with a toothpick, it should come out clean {except for the chocolate chips of course}. As soon as the panettone are done cooking, you will want to pierce straight across the bottom with large toothpicks or kebab skewers, and find a place to let them rest upside-down as they cools off. You want it to be inverted so that it doesn't "fall" and cave in as it's cooling. Sounds silly, but here are some pics to show you what I'm talking about. You can hang them between appliances in your kitchen, or let them rest in a big cooking pot. Looks hilarious but I promise it's necessary! Once your panettone is cooled off... it's time to eat! Finally! 🙂 If you made it all the way down this mammoth post, I feel like you deserve a gold star. Good luck with your panettone making! If you have any questions or need more explanation for a step, don't hesitate to ask. I'm here to help!
Original recipe from Cinque Quarti di Arancia.






Vicki wilson says
So how do I get a copy of this recipe to print off..? Looks really good..can't wait to make it
Vicki wilson
valentina says
Thanks Vicki! Since it's a pretty long recipe process that's split into separate days, I wasn't able to use my normal printable setup. I would say just copying the text of the ingredients and procedure and pasting it into Microsoft Word or something similar would be easiest 🙂 Let me know if that works out for you!
Natalie @ Obsessive Cooking Disorder says
Wow it took you 4 days! I had no idea these wre so labor intensive - I guess that's why they're so pricey. I'm so impressed and it looks gorgeous girl. I love the chocolate swap instead of dried fruit hehe