Getting ready for Halloween or wanting a special statement piece for a trip to Disneyland? These Disney-Princess Inspired Minnie Mouse Ears are the perfect accessory! Simple to make and personalize, they are sure to be show-stoppers.
Hi hi hiiii! It is just a few days until Halloween so I am here today to bring you my long awaited craft tutorial! These Disney Princess-Inspired Minnie Mouse Ears are deceivingly simple to make and SO cute. They're also super easy to customize! I went with a Rapunzel-inspired pair and a Cinderella, but honestly any princess would be adorable. Let's go make them!
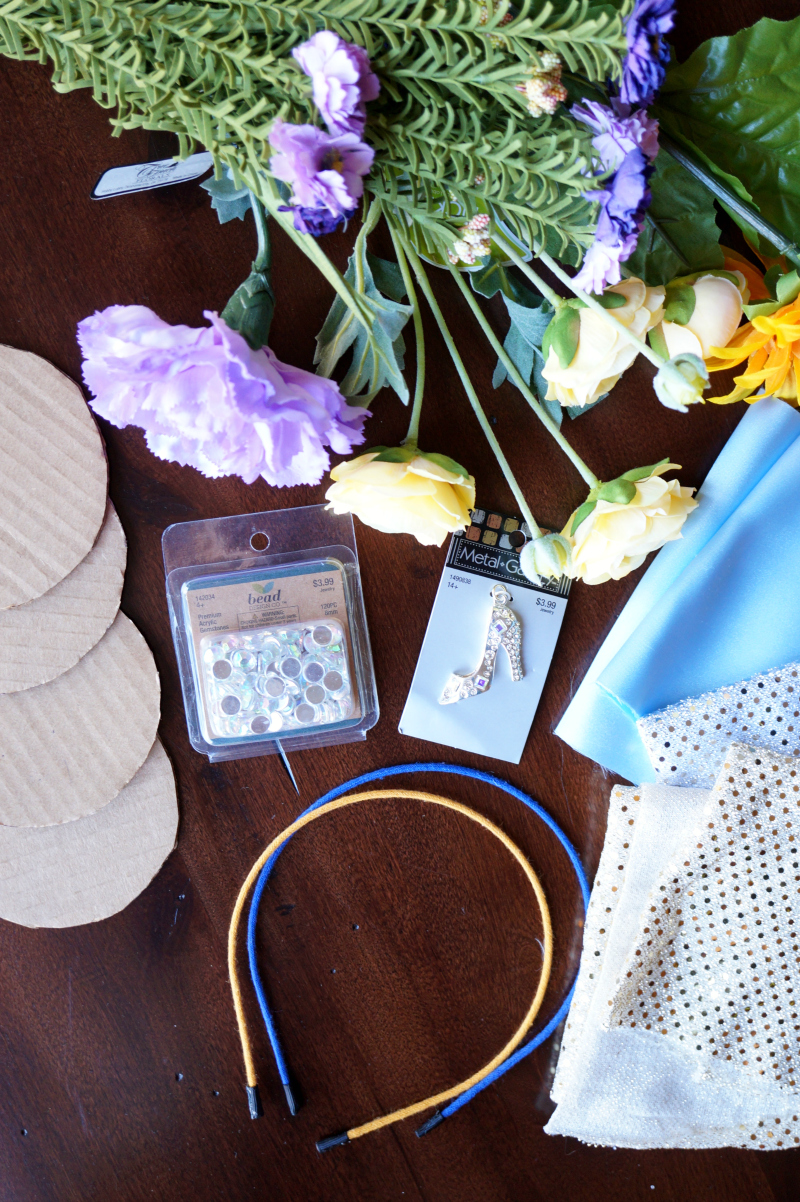
First, you need some supplies. I'll give you instructions on how to make ONE pair, but of course you can make as many as you want!
- 1 skinny metal headband
- cardboard
- fabric of choice to cover ears (I got ¼th of a yard and it was plenty)
- flowers, rhinestones, and other goodies for decorating
- hot glue gun
- tape
- felt or fabric scraps, to help support flowers (optional)
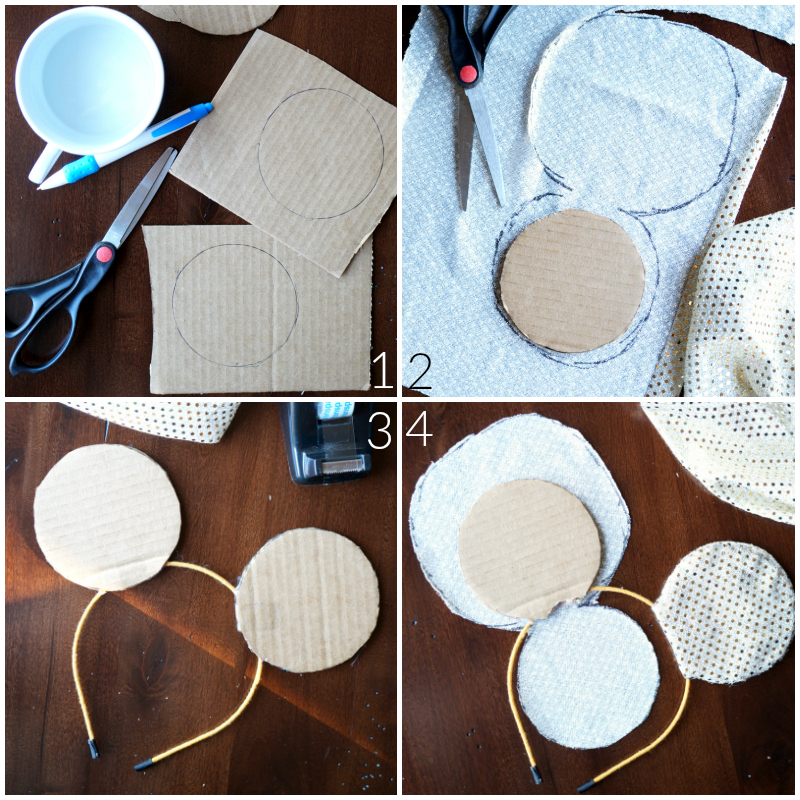
- Grab your latest Amazon package and recycle that cardboard! Find a suitable round object to trace (a cappuccino cup worked great), and trace out 4 circles for ONE headband. Using a hot glue gun, sandwich two cardboard circles together to create a double-thickness ear. Repeat with the two remaining circles.
- Next, prepare your fabric. Create a snowman shape, with one half tracing closely to the cardboard ears, and the other half over-tracing by about ½ inch. Cut out the fabric, making sure to leave the middle CONNECTED. This is the part that will wrap around your headband to help keep your ears in place.
- Now, secure your ears onto your headband. Wedge the headband between the two glued cardboard pieces, and place where desired. Use a small piece of tape at the bottom to secure the ears in place. When you wedge the headband in-between the two pieces of cardboard, this should create a small pocket of open space. Using the hot glue gun, squeeze plenty of glue into this open space to thoroughly secure everything in place.
- After the glue has dried and solidified, you will cut out a small piece of the ears so that they can sit flat and comfortably on your head. Take an x-acto knife or utility knife
, and cut a small semi-circular portion out so that it can lay flat when worn. This should still leave lots of hardened hot glue between the cardboard and headband, so nothing should move.
- After the glue has dried and solidified, you will cut out a small piece of the ears so that they can sit flat and comfortably on your head. Take an x-acto knife or utility knife
- Next, grab your fabric, and lay the FRONT of your headband on the bigger half of fabric. Wrap the fabric around the cardboard ears, and glue it onto the backside using hot glue. When finished, fold up the smaller half of the fabric {the one you traced to be the same size as your ears} and secure using hot glue to create a nice, even backside.
- Decorate as desired! You can add bows, rhinestones, trim, flowers... whatever your heart desires. I do find it helpful to use a piece of felt or scrap fabric to give myself more working room to glue flowers on. When finished, you can cover these stray pieces of fabric with any leftover fabric you have from the ears.
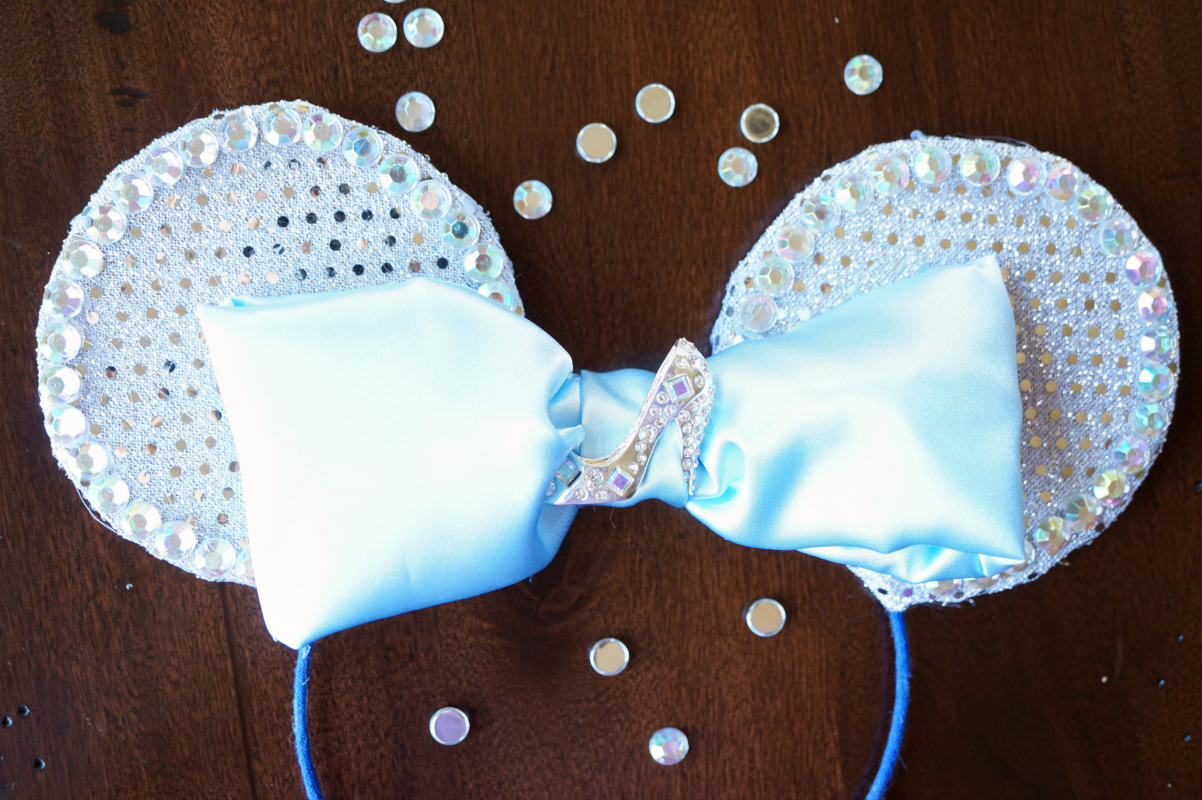
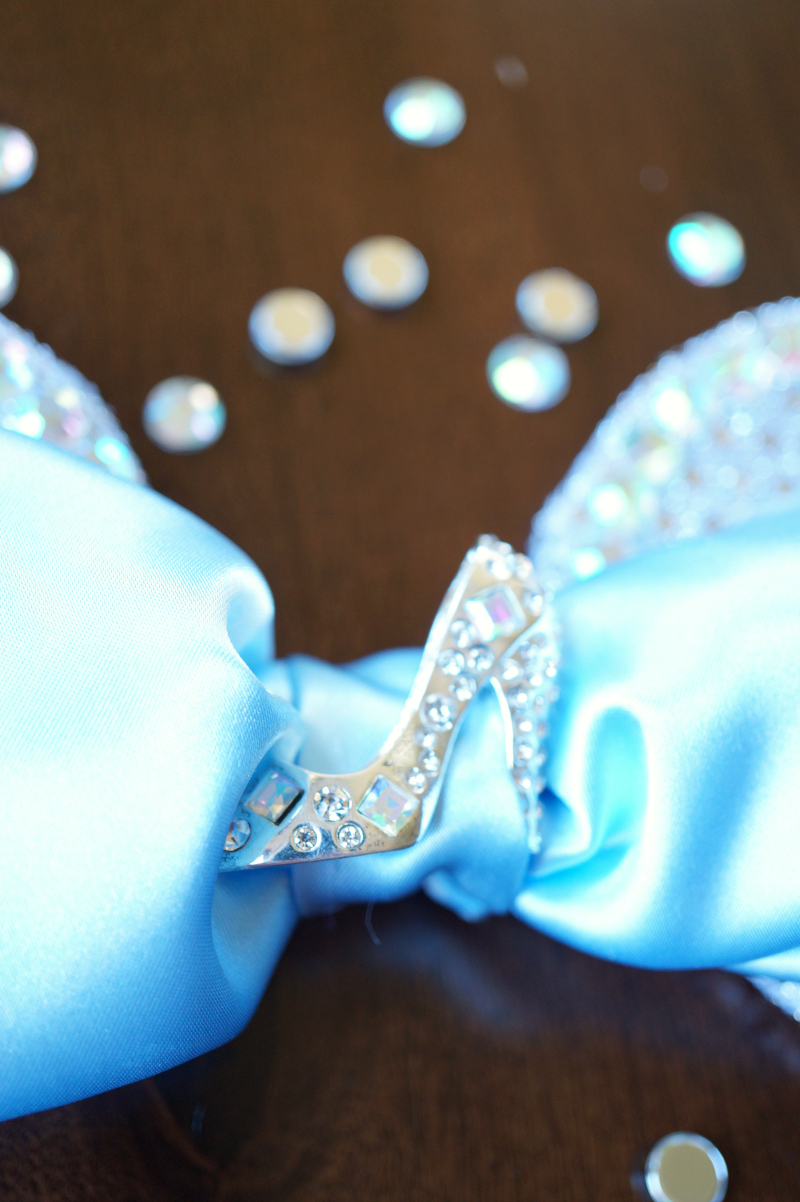
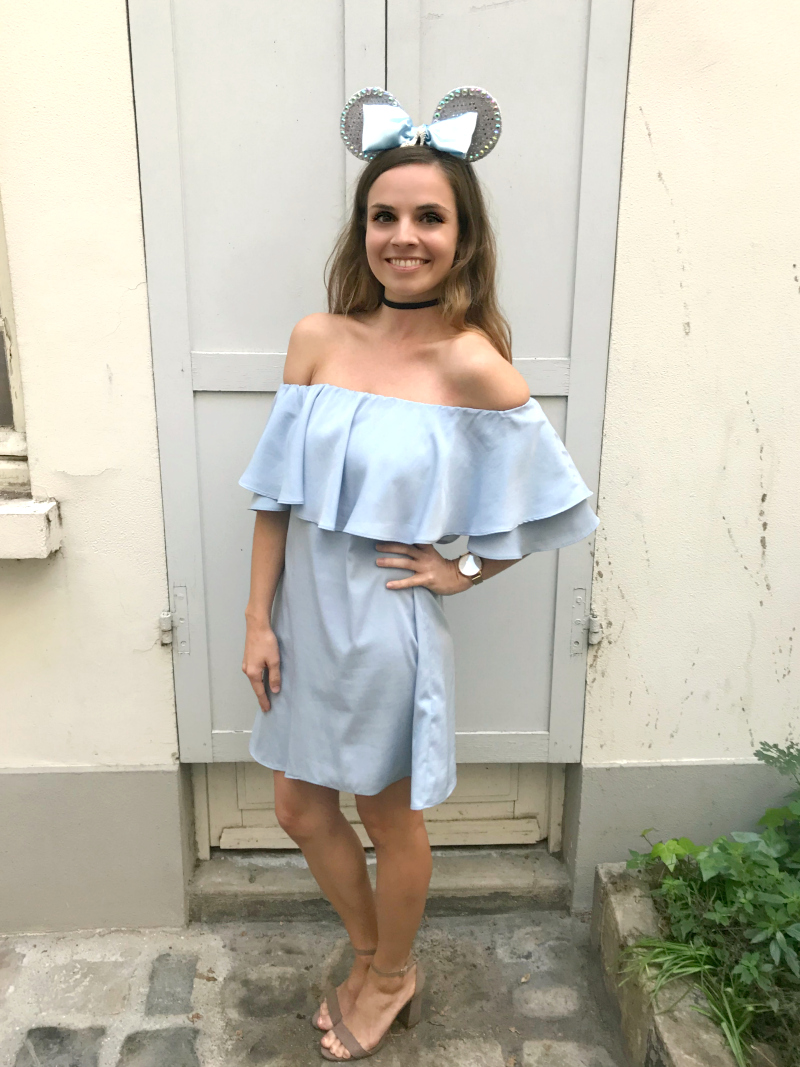
For the Cinderella Minnie Mouse ears, I used silver sequin fabric for the ears, light blue satin for the bow (⅛th of a yard was plenty), craft rhinestones, and the most perfect little sparkly heel
I found in the jewelry-making section of the craft store!
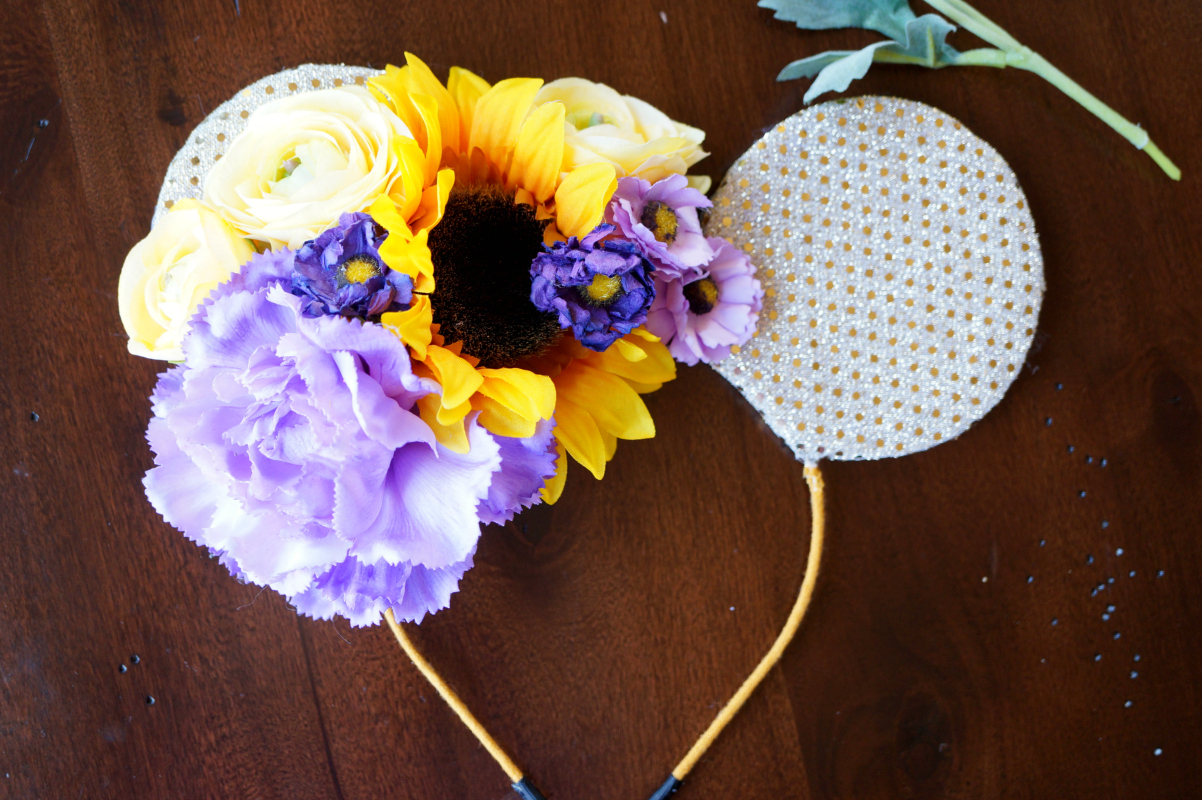
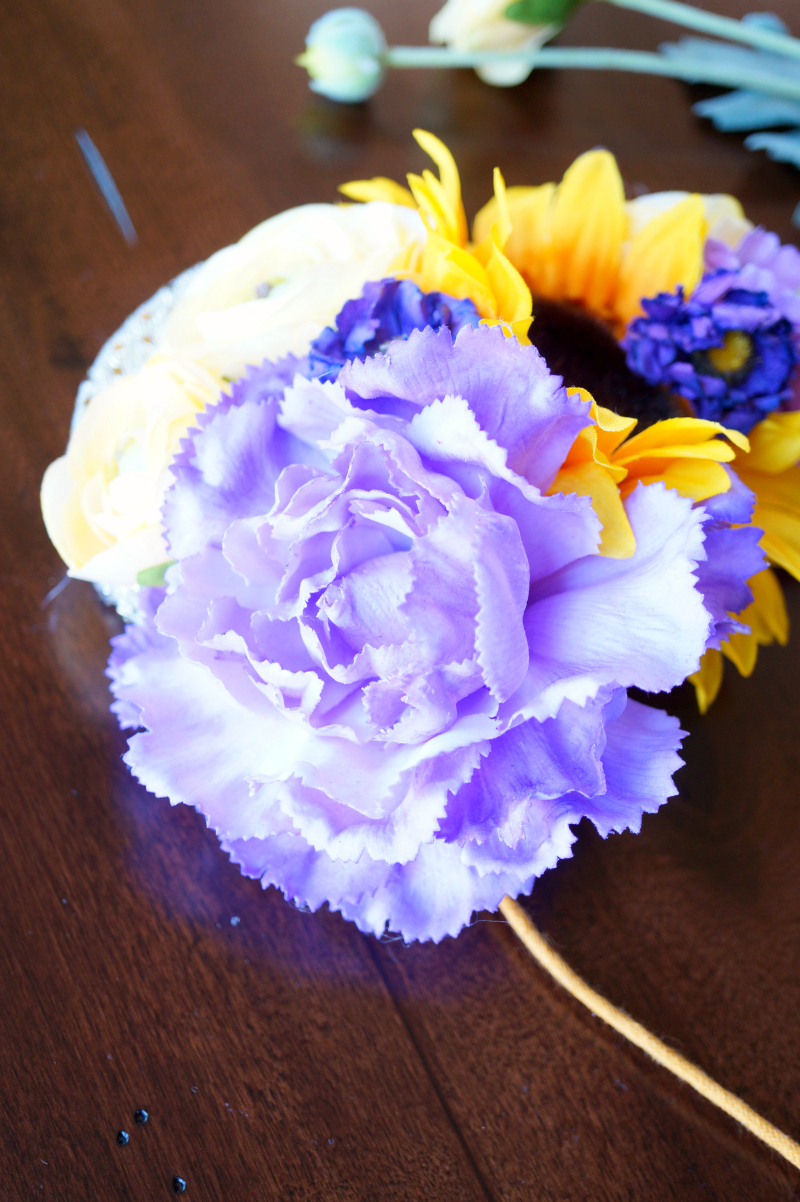
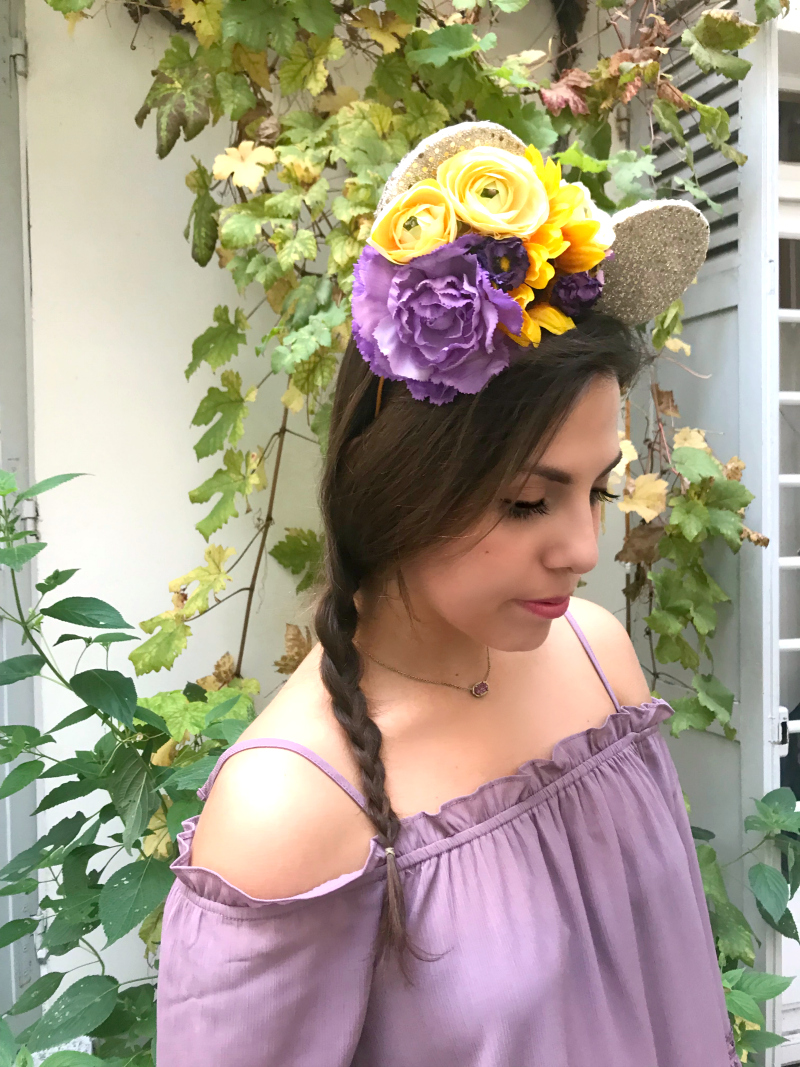
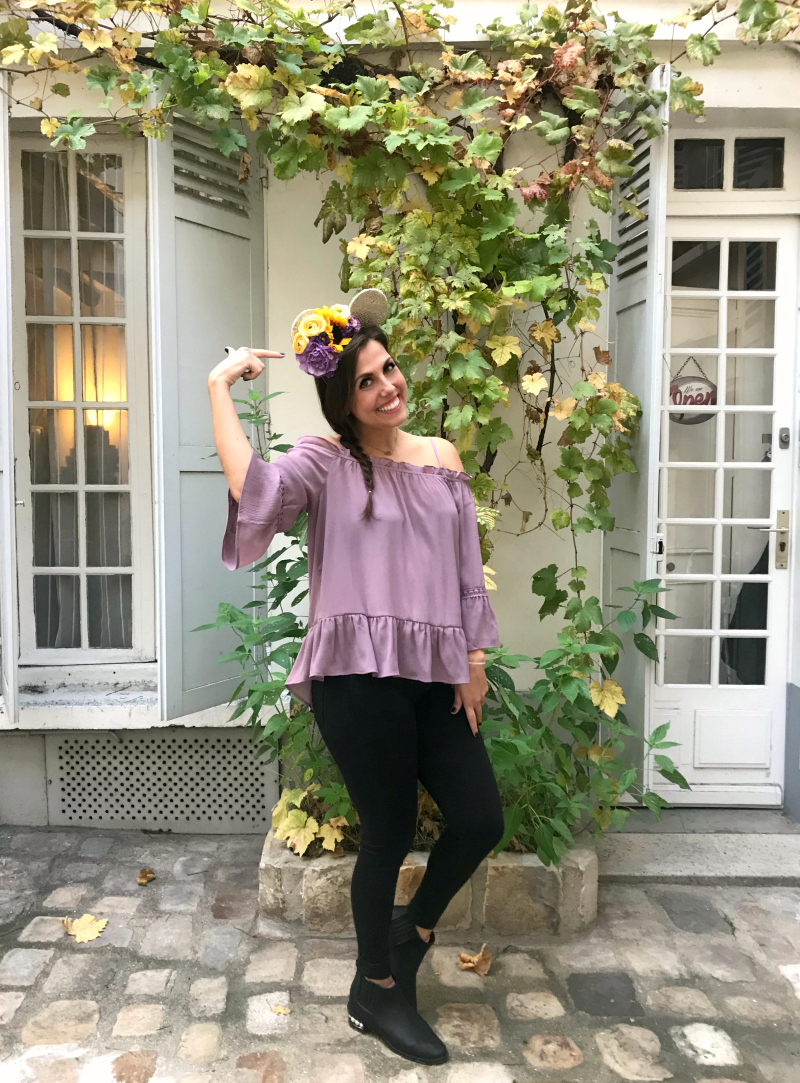
For the Rapunzel Minnie Mouse ears, I used gold sequin fabric and a variety of fake flowers. I picked up a large light purple peony and sunflower as my main pieces, and then filled in the gaps with tiny purple wildflowers and yellow ranunculus.
Pair these super cute Disney-princess inspired Minnie Mouse ears with some trendy clothes from your closet and have the ultimate fashion forward, budget-friendly Halloween costume! We'll be going to Disneyland Paris next week so they'll be on full display there. I'd love to know what you're wearing this Halloween! If you're making these Minnie Mouse ears, let me know for what princess. I'd love to see any pictures! 🙂
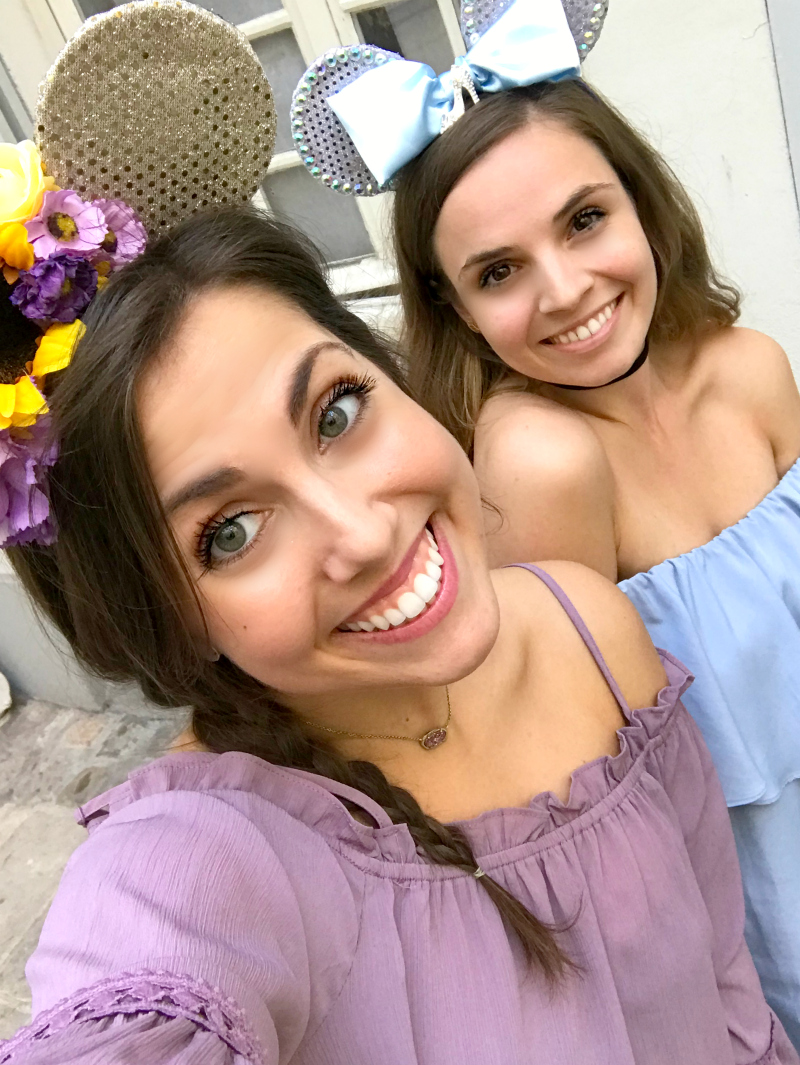
From your favorite Disney-obsessed food bloggers to you... happy Halloweeeeen! 🙂
*Disclosure: I am part of the Amazon Associates Program, and there may be affiliate links on this page. If you buy anything through my website, I will receive a small percentage of the profit at no extra cost to you. Thank you for supporting my blog!*


Jessica Holbert says
Wow, this is really a fun idea. You did a good job. I must try it for my little girl. Hope so she also likes it. Thanks for the sharing such a creative idea with all of us.