
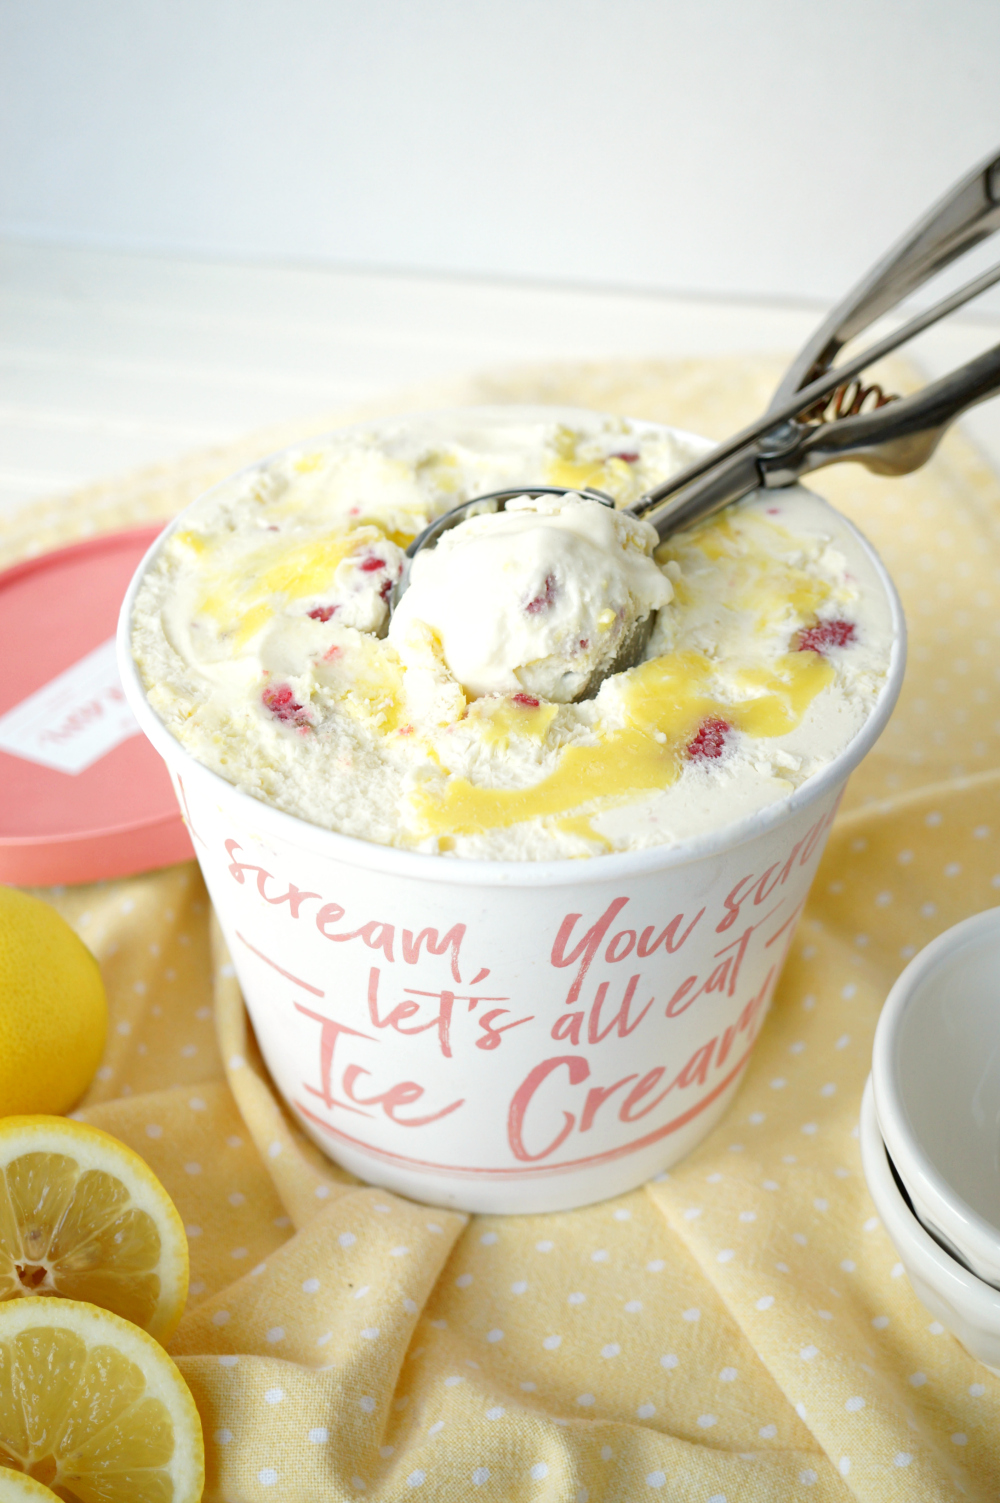
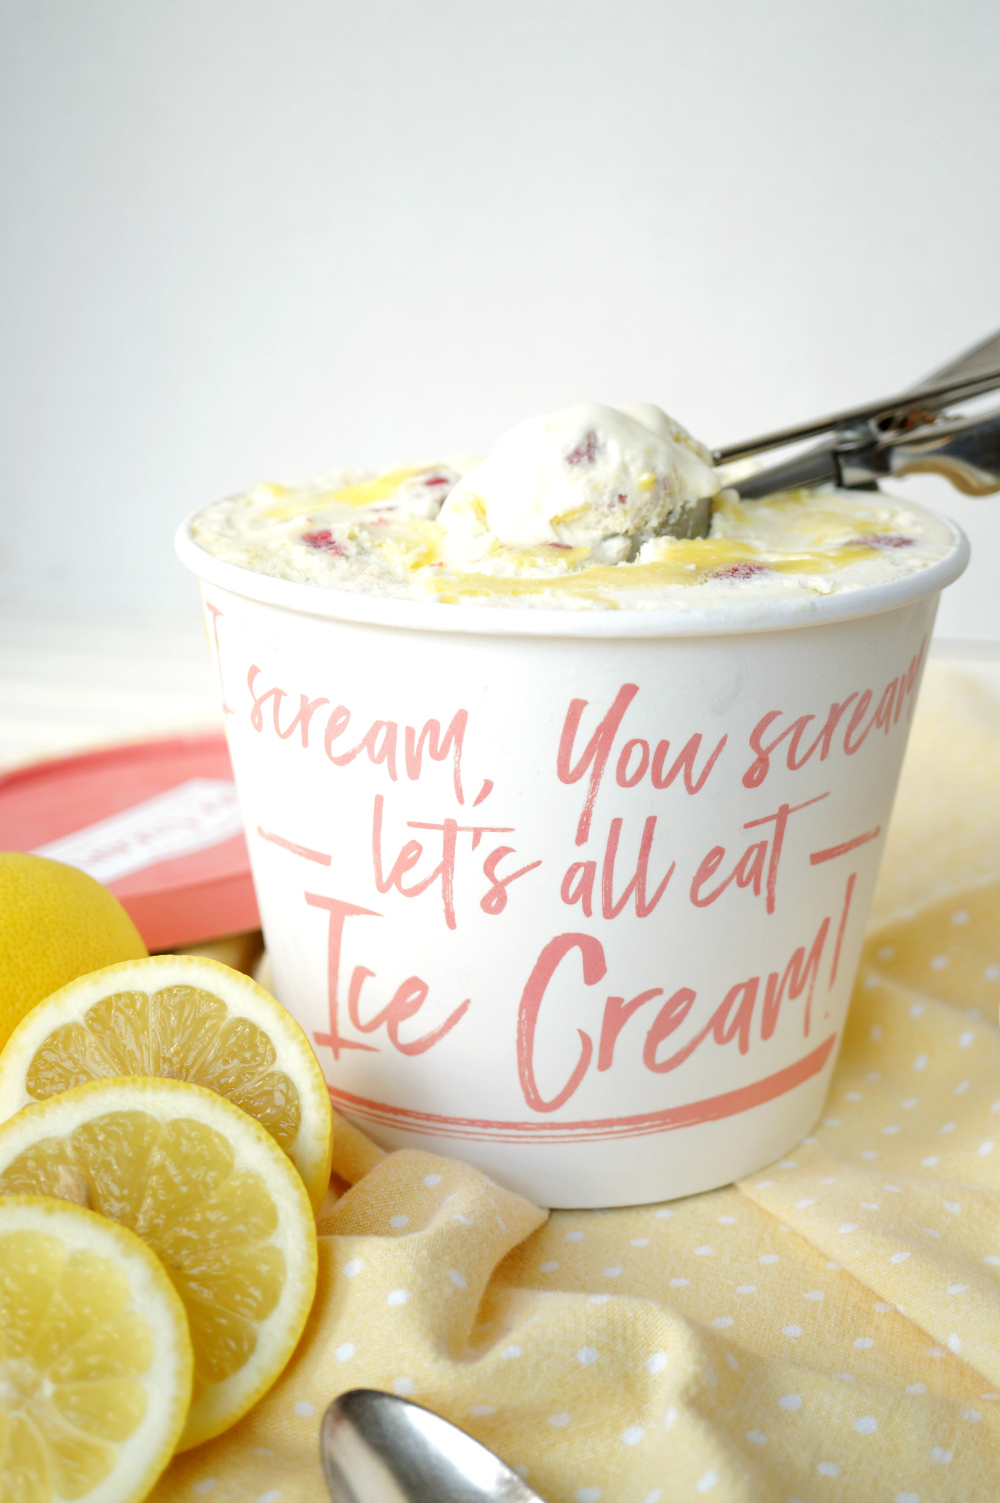
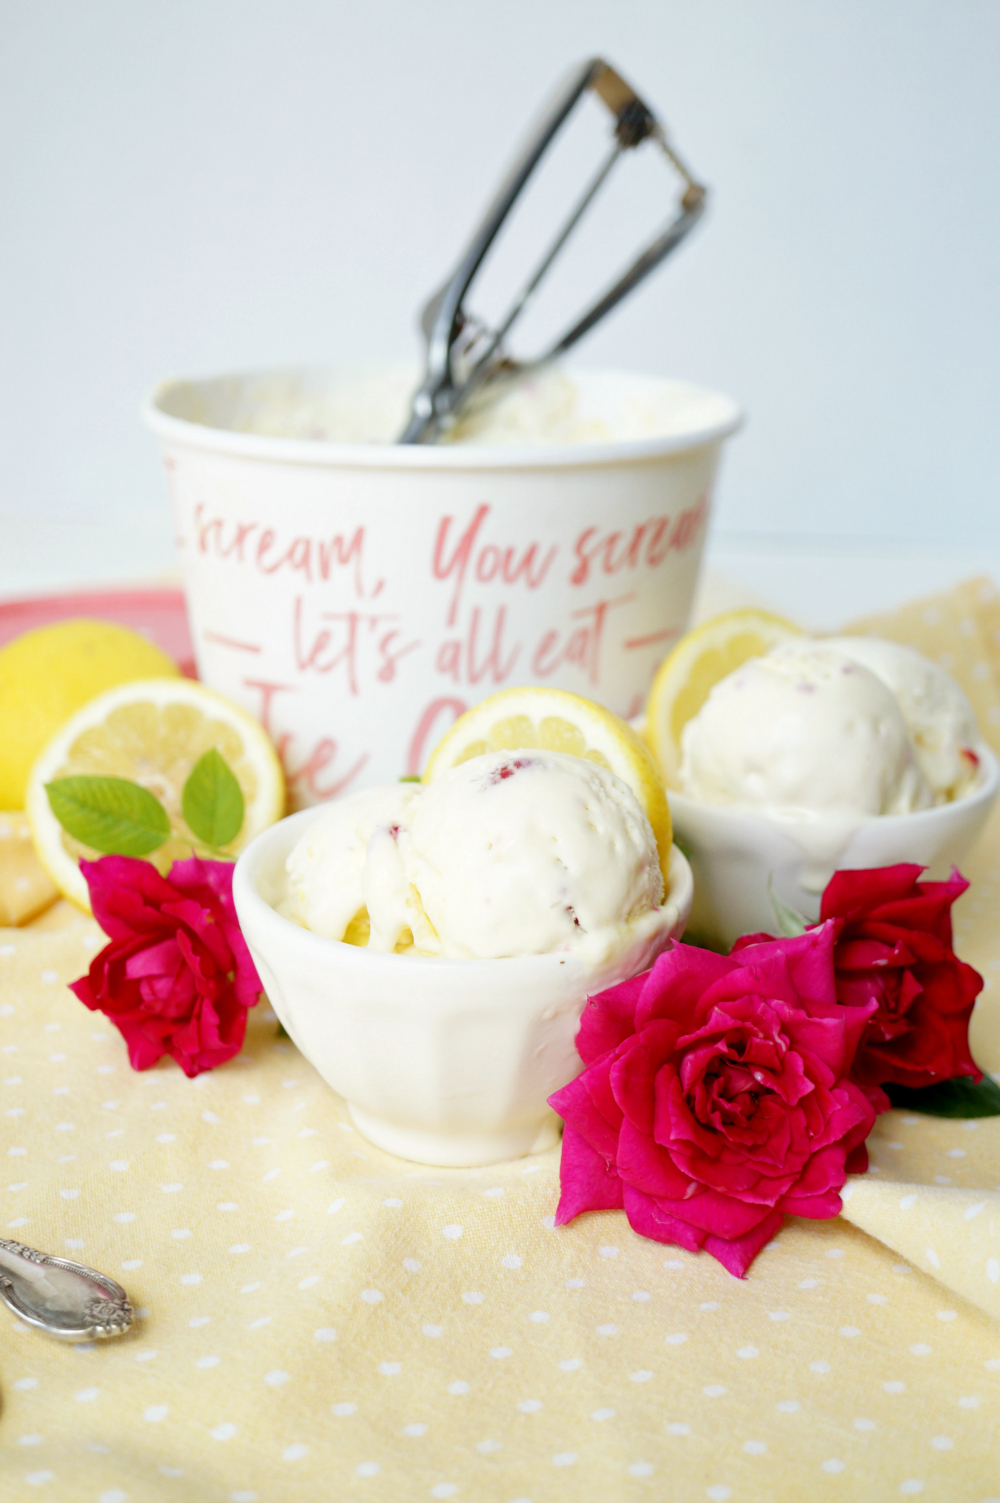
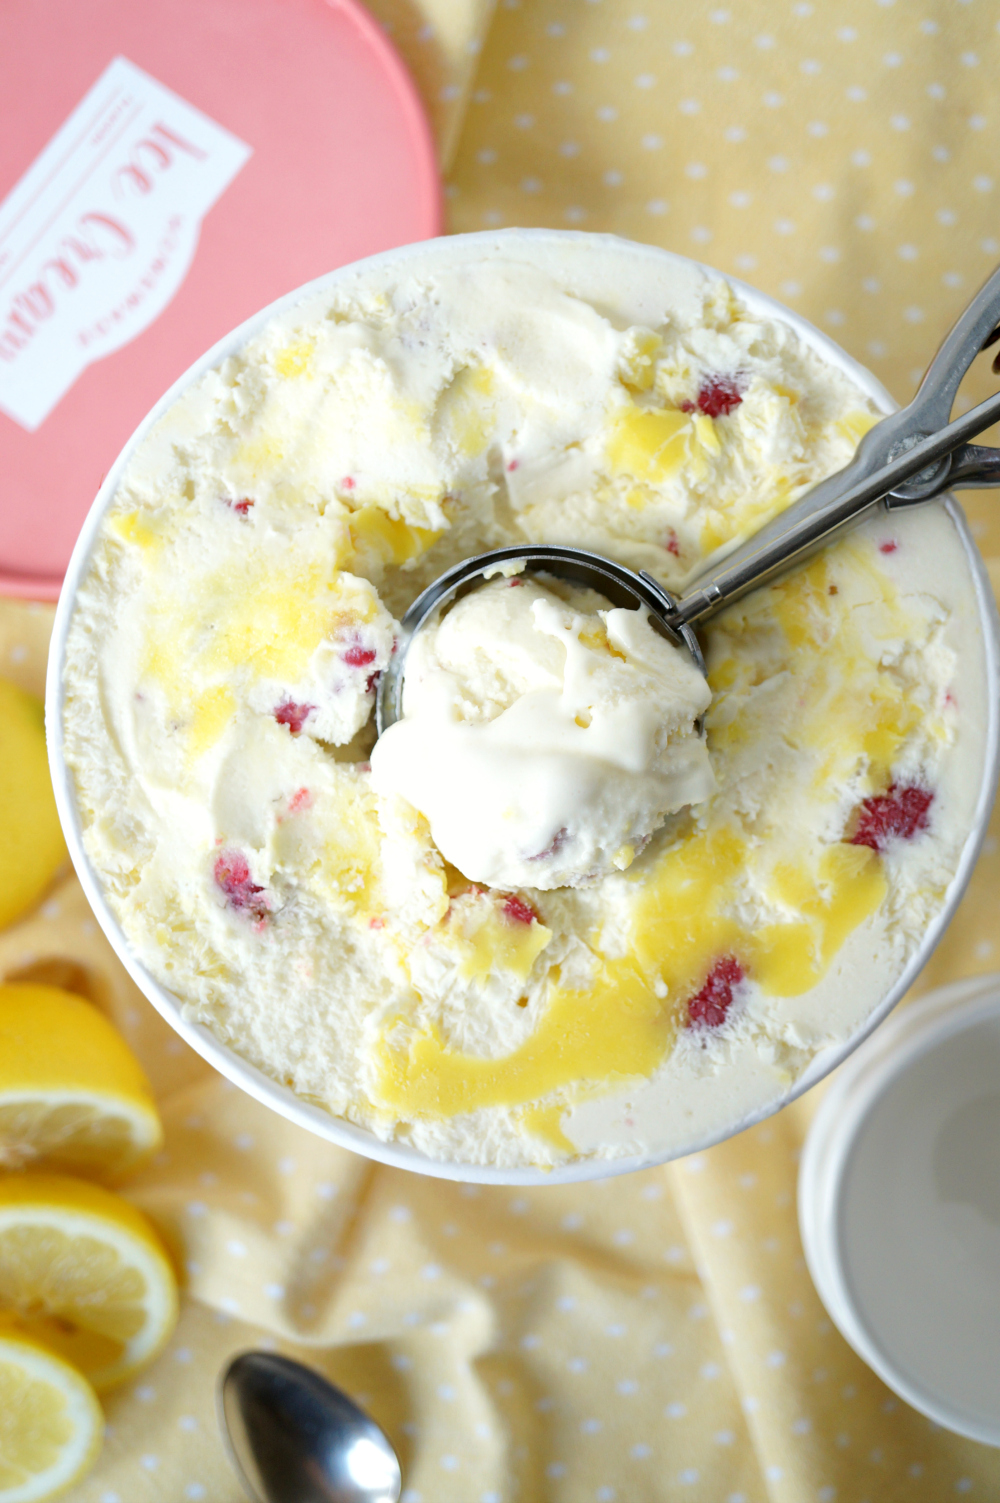
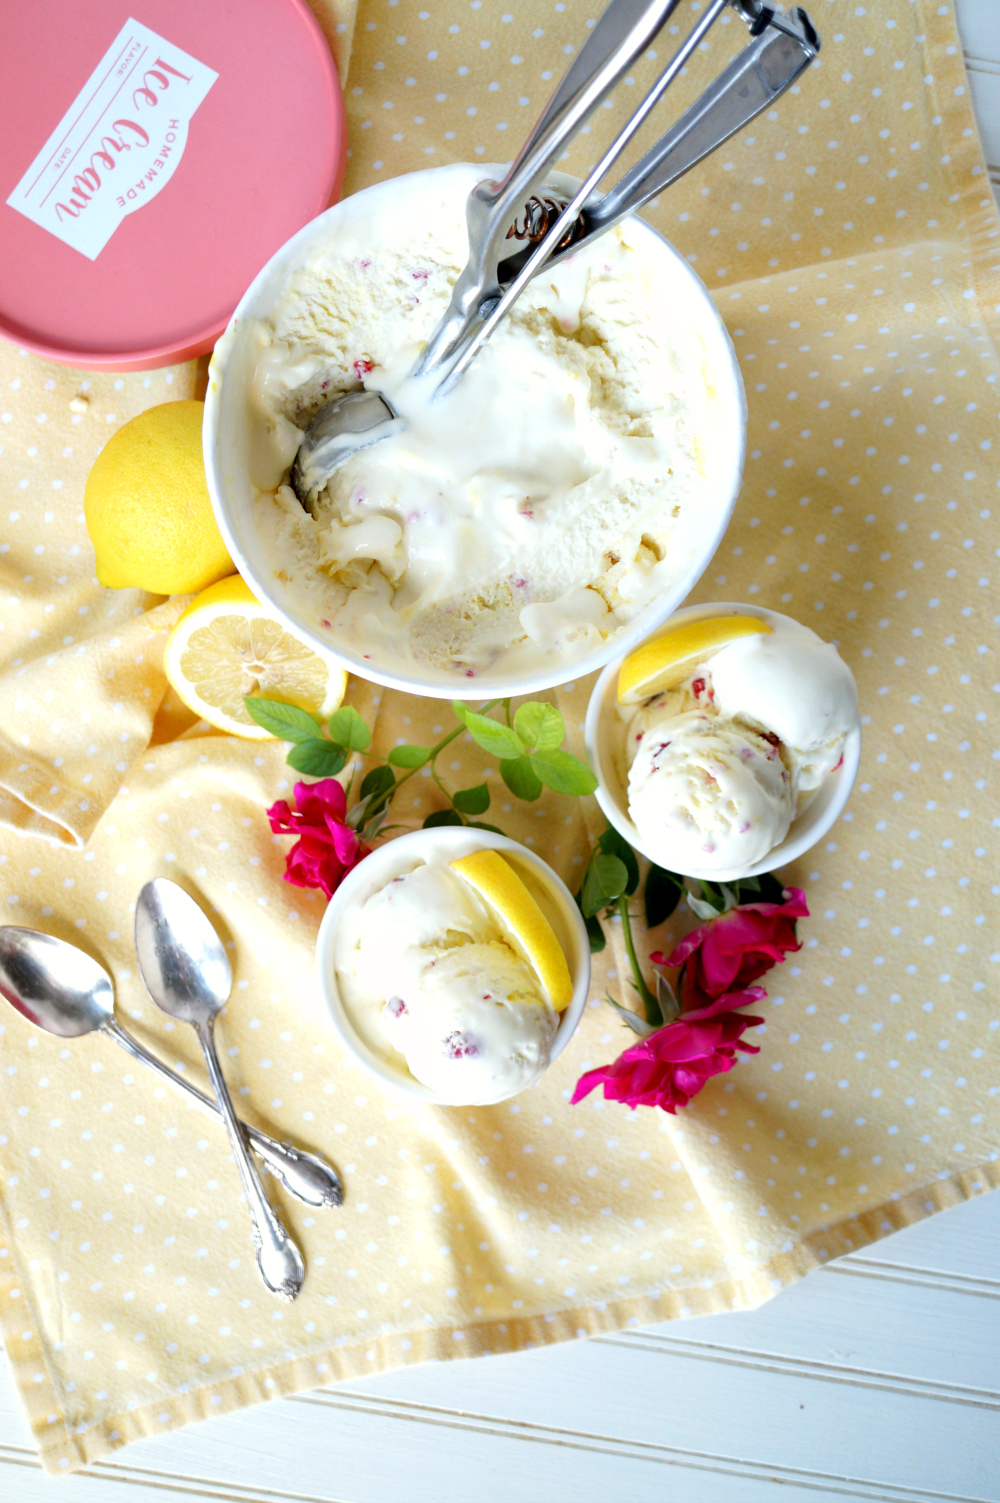
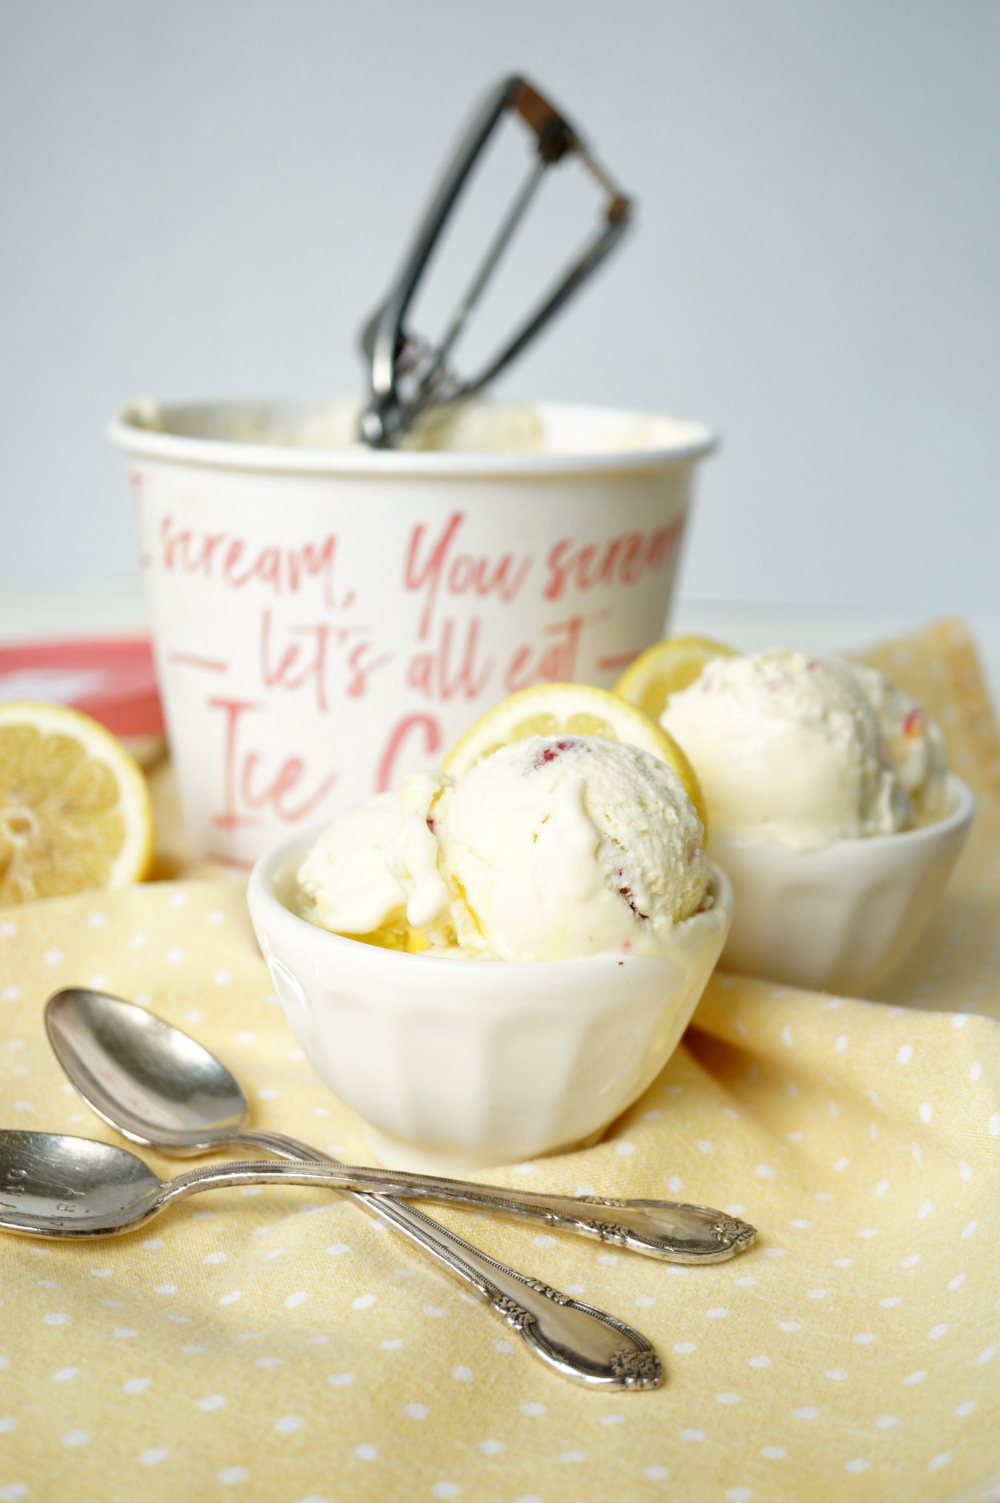
Nothing tastes like summer quite like citrus and berries together! This Lemon Curd Raspberry Homemade Ice Cream is creamy, dreamy, and absolutely amazing!

Hiii friends and happy Monday! Can you believe yesterday was National Ice Cream Day and I missed it with this post? By ONE day?! WAH. But who cares, ice cream is good any time and if you don't think it's an issue then neither do I 😉 This Lemon Curd Raspberry Homemade Ice Cream is seriously amazing and tastes like summer! This was my first time making "real" ice cream with my ice cream machine and as much as I love no-churn recipes... this is the real deal. You can definitely taste the difference in that creamy base!
Having never made ice cream from scratch before, I knew I needed a solid recipe to ensure success. And who's recipe would be better to use than the mythical Jeni's from Jeni's Splendid Ice Creams!? She has a home cook-friendly version of her famous recipe that is seriously wonderful and easy to make. That's what I used to get started on this lemon curd raspberry homemade ice cream! To her base, I added homemade lemon curd and heaps of fresh berries and ended up with cool, creamy perfection.
I finally bought myself the ice cream maker attachment for my KitchenAid earlier this year, and as soon as I started brainstorming, I had this idea for lemon curd raspberry homemade ice cream and it would not leave me alone. I'll make more ice cream recipes in the future of course, but this one just HAD to be the very first! I envisioned a rich, creamy lemony ice cream swirled with ripples of thick lemon curd and little gems of frozen raspberries. The final result is honestly even better than I imagined it!
Is homemade ice cream daunting? Perhaps just a bit. But I promise making it is really much simpler than you'd think! The very first step of any ice cream recipe - PUT YOUR BOWL IN THE FREEZER. You can't do anything until that thing is frozen solid and ready for churning. Then you can start the actual cooking 🙂 I made my lemon curd a day or two in advance and had it sit in the fridge until needed. Just be sure not to eat it all while you wait! Next, I made my ice cream base with milk, cream, sugar, vanilla, lemon zest, and just a wee bit of cream cheese (hey, Jeni told me to do it!). Once the base is cooked and cooled, well... time to make ice cream! I just poured it into my ice cream maker with a few big spoonfuls of the lemon curd, and let it mix away until soft and creamy. The rest of the toppings get added as you are layering your ice cream into your container. I layered swirls of lemon curd and handfuls of crushed berries into the ice cream and then put it in the freezer to finish. And now the hardest part - waiting!
I seriously loved my first experience making homemade ice cream and it definitely won't be my last! If you don't have an ice cream machine and want to make this anyway - super easy to turn this into a no-churn recipe. Just make the usual base of heavy whipping cream and sweetened condensed milk, and then proceed as I did for this recipe! Fold half the curd into the base, and swirl the rest in with the raspberries as you layer it all in your container. Happy ice creaming! 🙂
Looking for more ice cream recipes? Check out my Peanut Butter Pie Ice Cream, Moo-llennium Crunch Ice Cream, and Birthday Party Ice Cream!
{Ice Cream Base from Jeni's Splendid Ice Creams // Food 52}

lemon curd raspberry homemade ice cream
Ingredients
- *for the lemon curd*
- ½ cup milk
- ¼ cup water
- 1 tablespoon corn starch
- 6 tablespoon granulated sugar
- 6 tablespoon fresh lemon juice
- zest of 1 lemon
- ⅓ cup butter
- pinch of salt
- *for the ice cream*
- 1 tablespoon plus 1 teaspoon cornstarch
- 1 ½ ounces cream cheese at room temperature
- ⅛ teaspoon fine sea salt
- 2 cups whole milk
- 1 ¼ cup heavy cream
- ⅔ cups sugar
- 2 tablespoons light corn syrup
- lemon peel from 1 lemon
- 1 pint raspberries
Instructions
- Before you do anything, place your ice cream bowl in the freezer. Most manufacturers say this must be frozen solid before it can be used! Give it at least overnight to freeze.
- When ready, prepare the lemon curd. In a small pot, whisk together the milk, water, and cornstarch.
- Place over medium-high heat and add in the lemon juice, lemon zest, sugar, and butter, continuing to whisk. Mixture should start bubbling and thickening. Whisk for 1-2 minutes as it boils, then remove from heat and mix in the lemon extract. Set lemon curd aside to cool until needed. It has to be COLD before it can be used in the ice cream.
- Next, make the ice cream base.
- In a small bowl, mix about 2 tablespoons of milk with the cornstarch to make a slurry. In a medium bowl, add the salt and room-temperature cream cheese and whip all the bumps out. In a large bowl, make an ice bath (heavy on the ice) and set aside.
- Pour the milk, cream, sugar, and corn syrup into a saucepan with the lemon peels. Bring to a boil and set a timer for 4 minutes. When the 4 minutes are up, turn off the heat and remove the lemon peels. Add the cornstarch slurry to the ice cream base in the pan.
- Incorporate the hot cream mixture into the cream cheese. Do this a little bit at a time so that you can whip out any lumps of cream cheese. Pour the hot ice cream base into a zip top bag and seal. Submerge in the ice bath until very cold.
- When ready, snip the corner off the zip top bag and pour the ice cream base into your ice cream maker. Add in about half of the lemon curd. Turn on the machine and churn until creamy and smooth (about 25-30 min). Ice cream will NOT be completely frozen at this point. Now it's time to transfer to a container!
- Using a loaf pan or ice cream container, layer a bit of the reserved lemon curd at the bottom. Make a thin layer of ice cream on top, and sprinkle on some raspberries and dollops of curd. Repeat until you've used all the ice cream. Place a piece of wax paper on top, then wrap tightly with foil or place the top of the container on. Freeze until solid, at least 4 hours.
*Disclosure: I am part of the Amazon Associates Program, and there may be affiliate links on this page. If you buy anything through my website, I will receive a small percentage of the profit at no extra cost to you. Thank you for supporting my blog!*


Sheila says
Wow! This is a refreshing flavor from the usual ice cream Can't wait to try it. Planning to make it this Saturday with the girls. Thank you for sharing the recipe.
Jan Thomas says
Anything Lemon and I'm in! Thank you for sharing at our Farmers Market Week Recipe Link Up for Celebrate 365 Blog Party!
dar anderson says
used the recipe once and it was really enjoyable. there is mentioned lemon extract in the instructions but that ingredient is not in the recipe. how much?